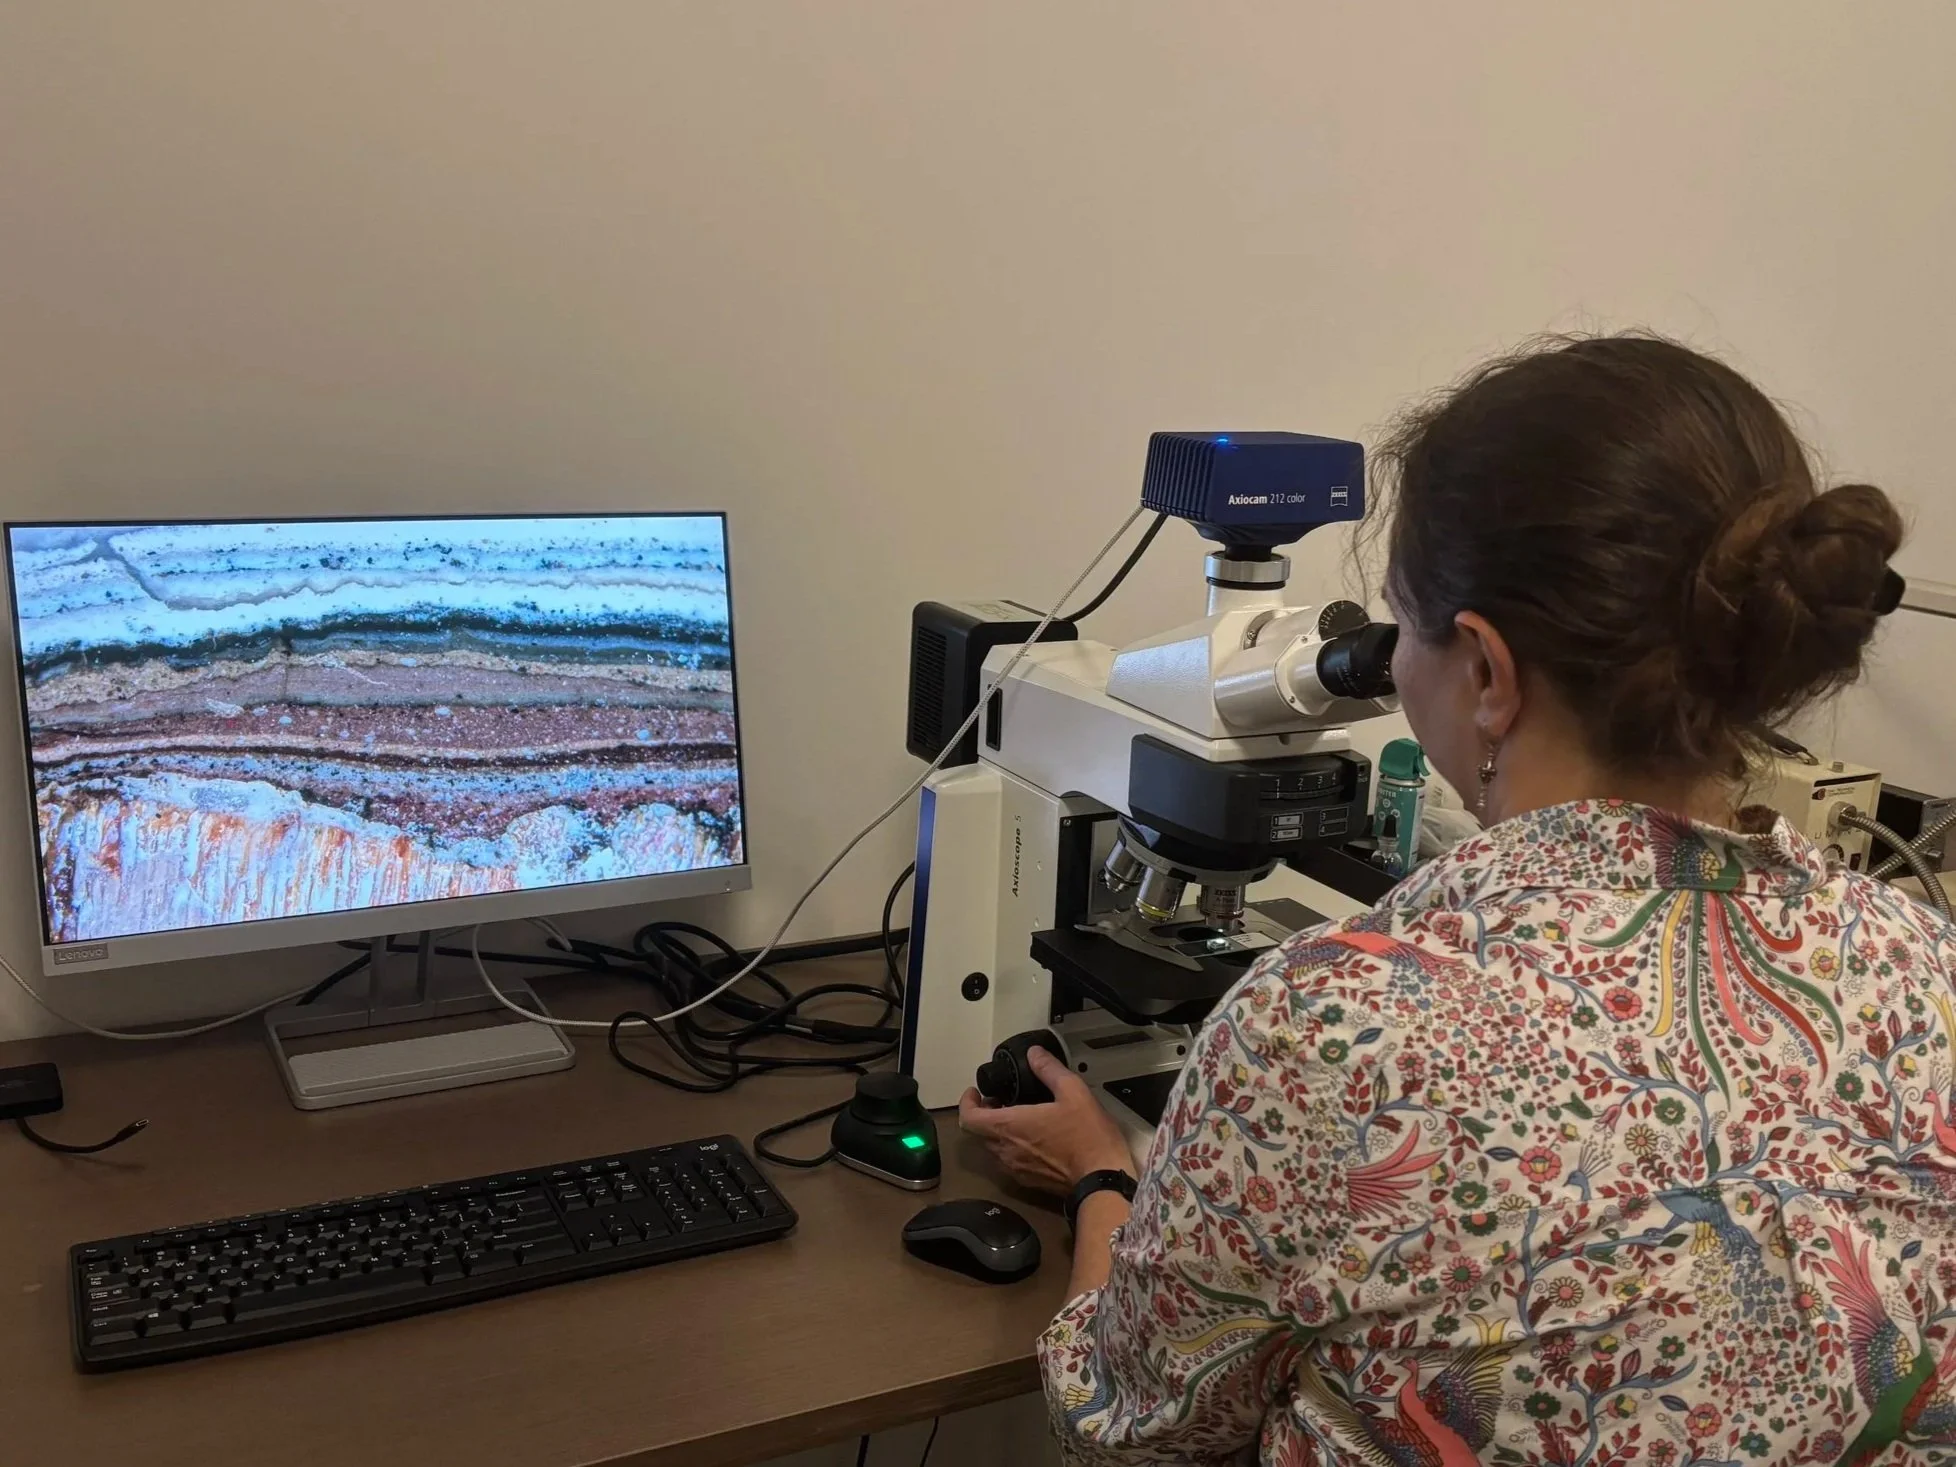
Through historic photographs, the team knew that the Noble Hardee House had changed in appearance over time, but black and white photos can only give you hints about historic colors. We wanted to understand the early color schemes of the house and define how the historic color of each architectural element related to a cohesive appearance. This knowledge would then guide design decisions for the exterior restoration.
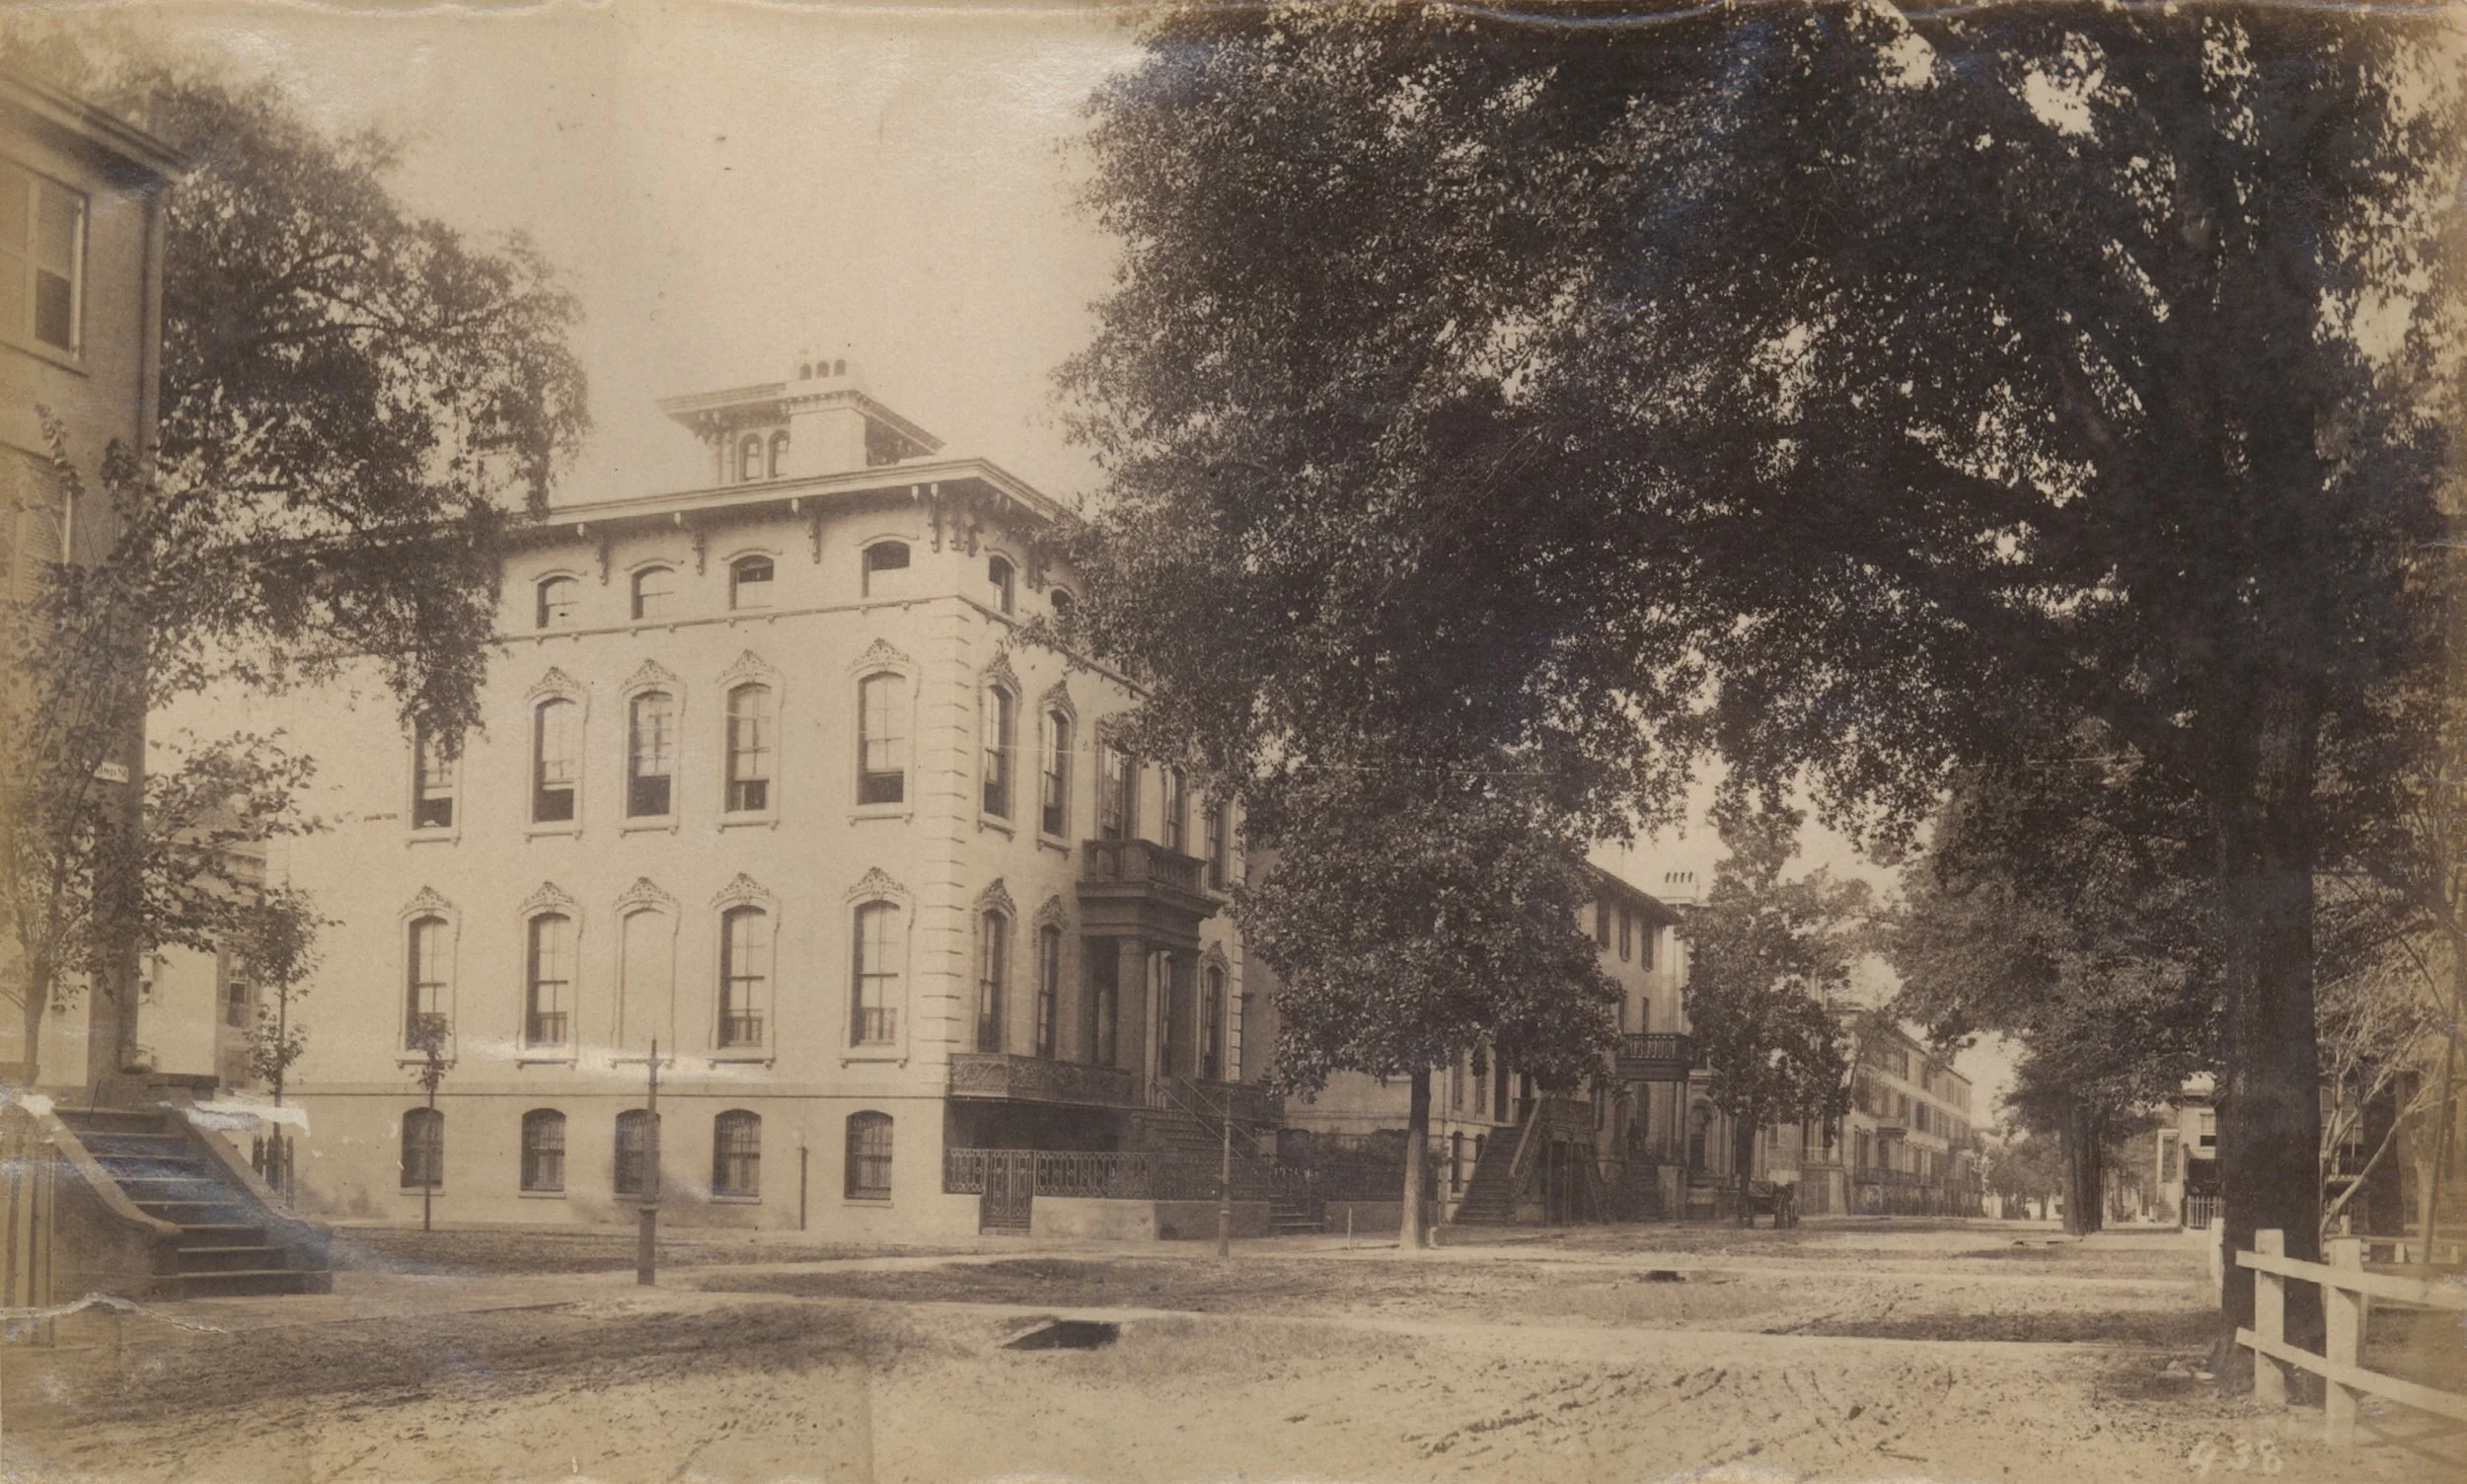
Noble Hardee House c. 1869-1894 Image courtesy of Georgia Historical Society, GHS 1375-PH-176
A large-scale finishes analysis includes many steps that begin with on site-investigation and sample removal. Samples are then prepared and analyzed in a lab, before the results can be interpreted and implemented into restoration design. Explore below for the process of investigation in the field and stay tuned for information about laboratory analysis and the findings from the team’s investigation.
Step 1: Craters & Field Microscope
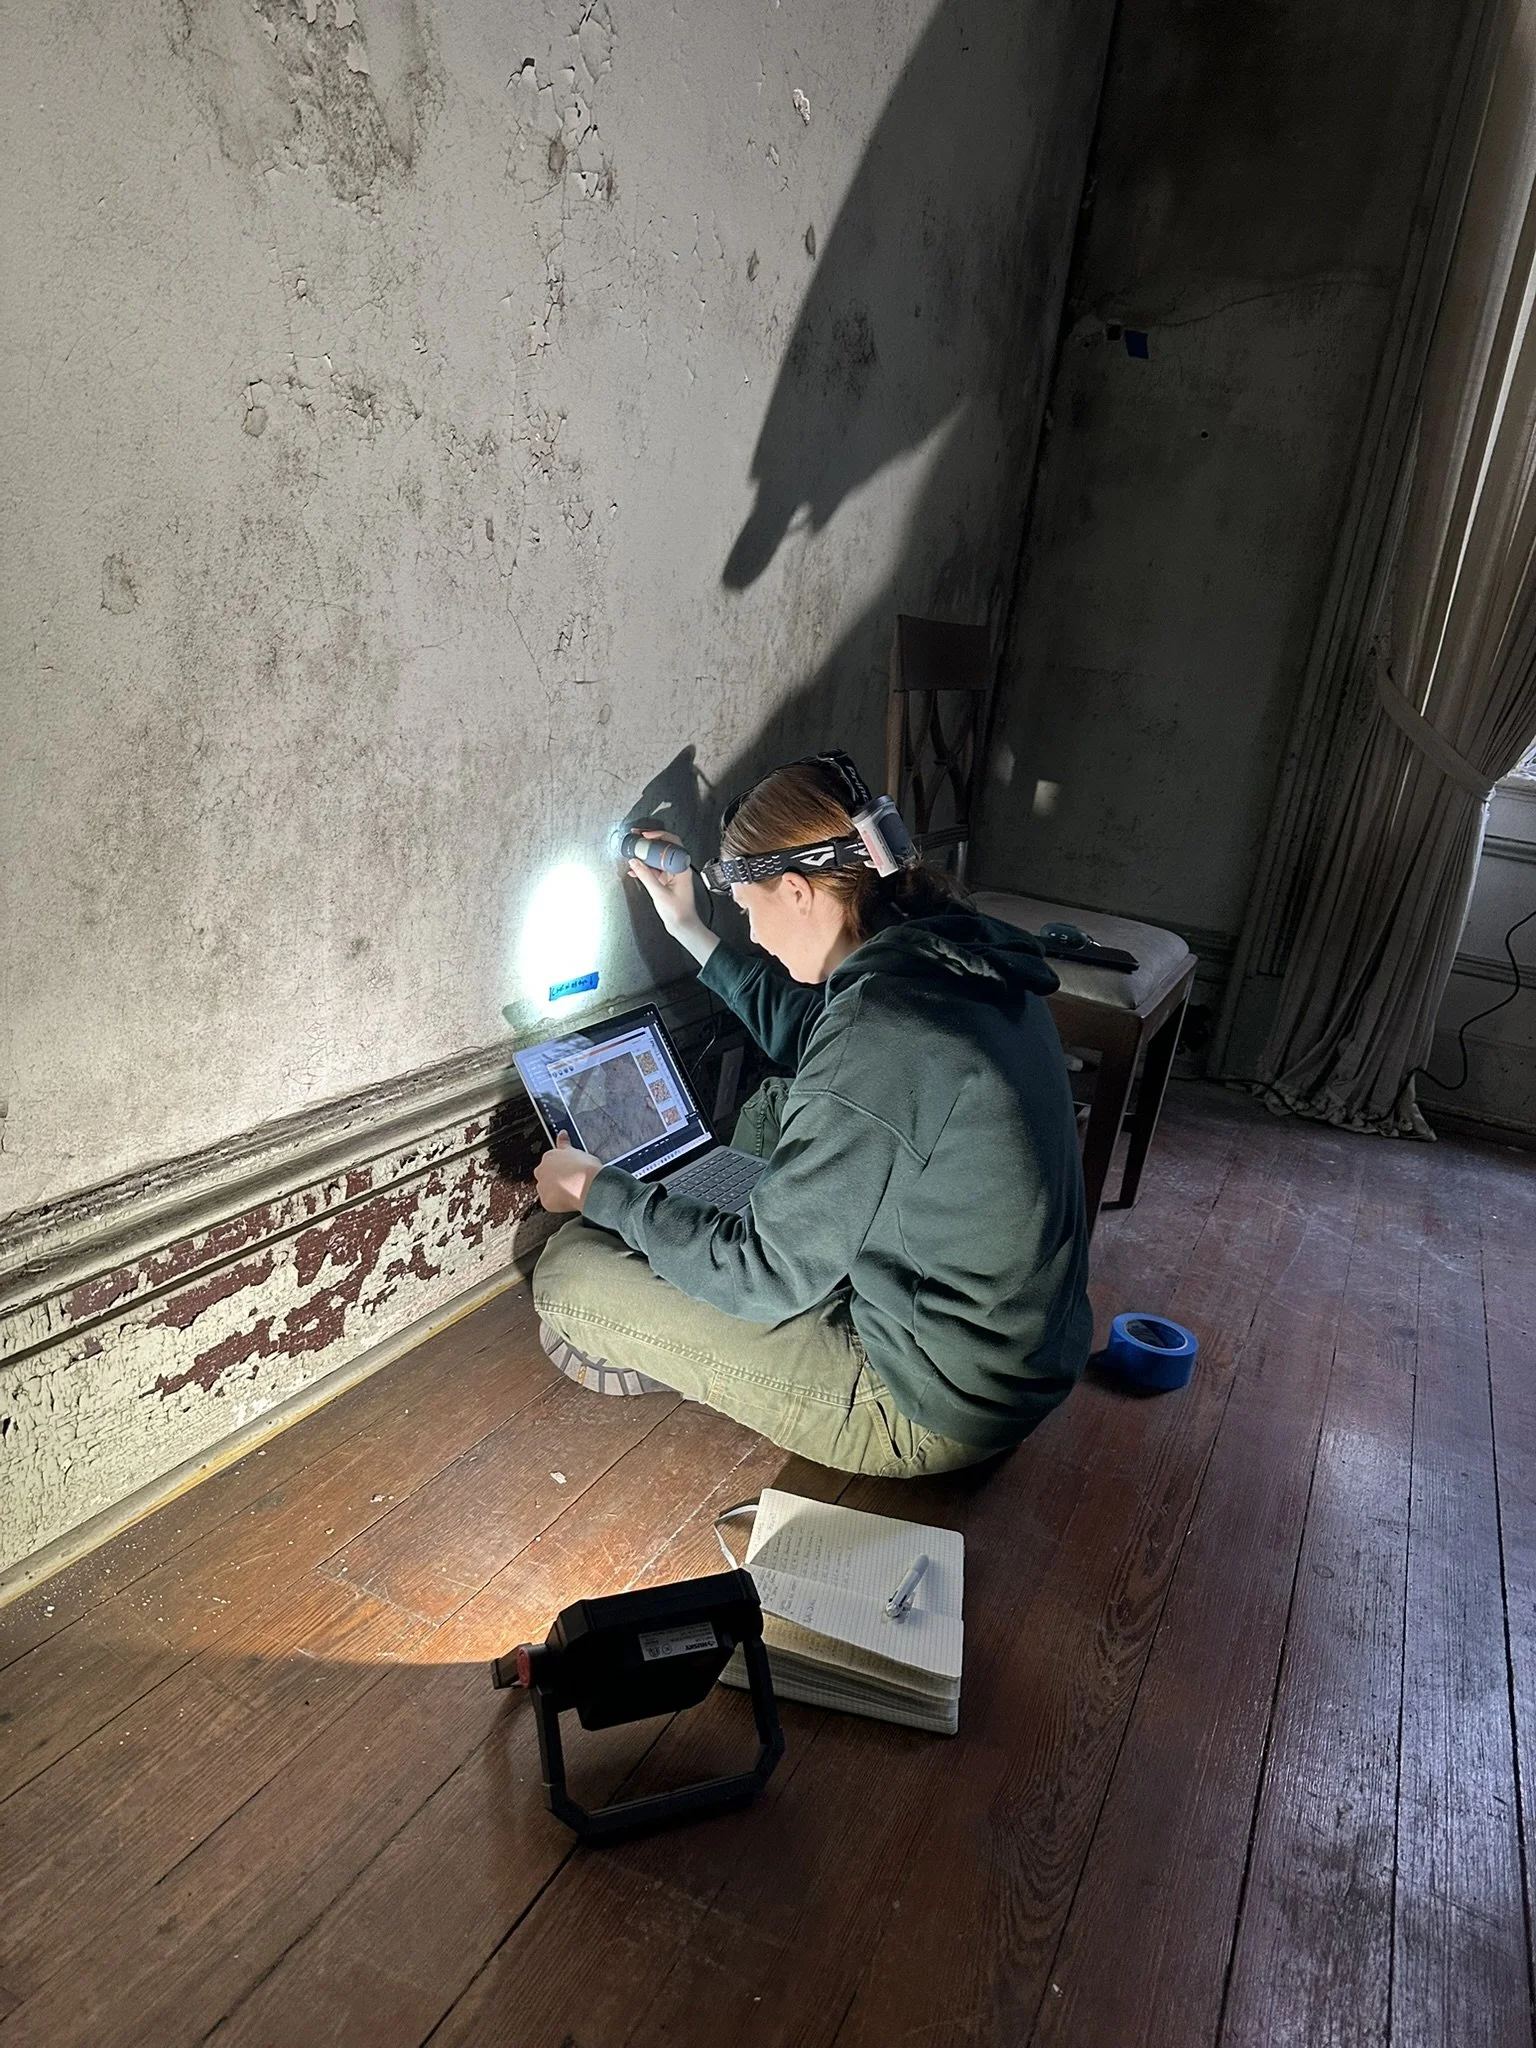
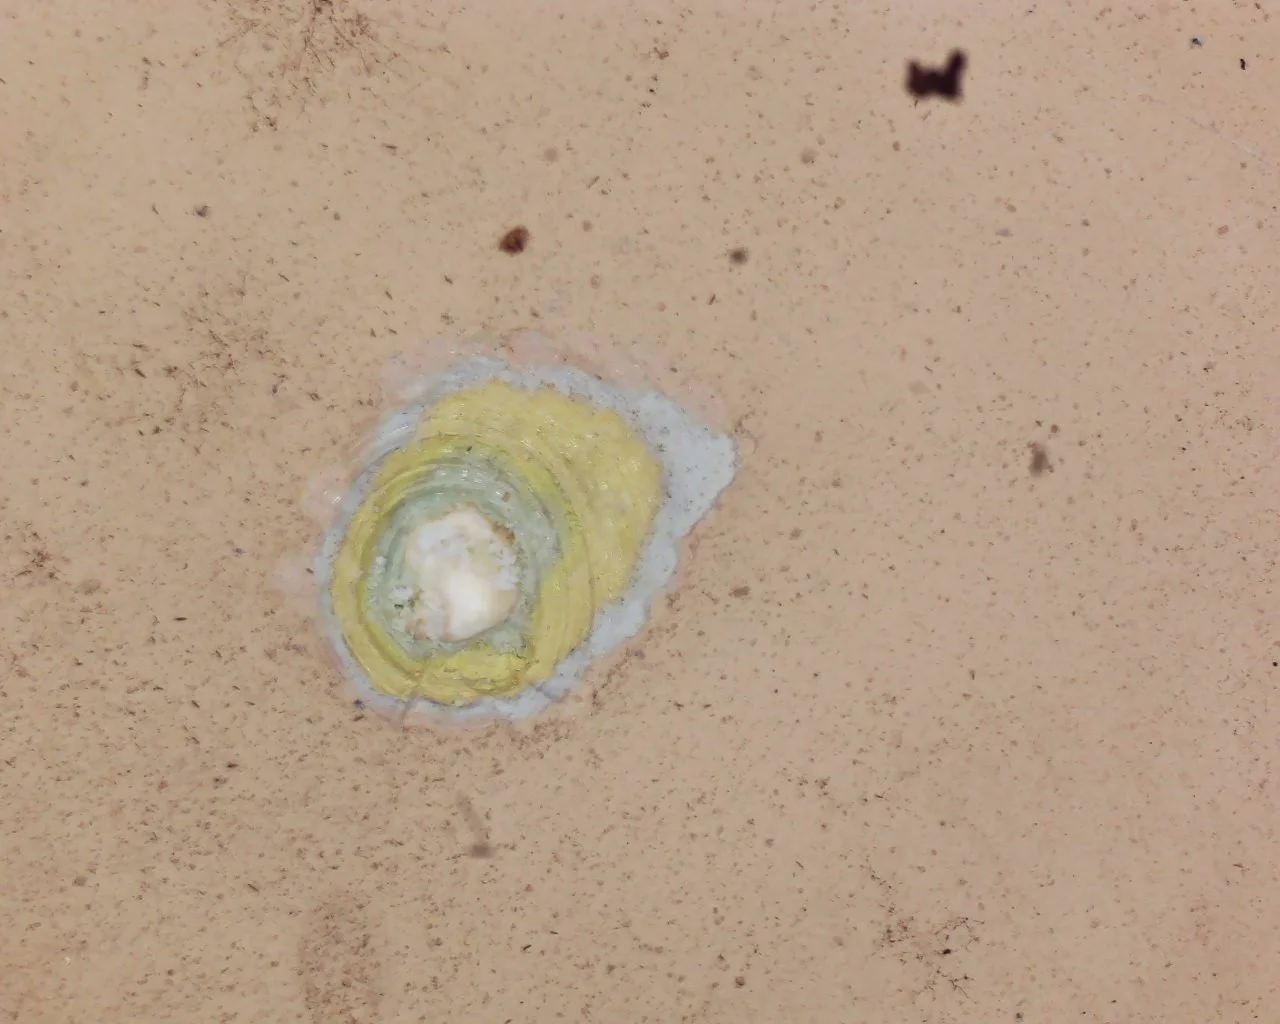
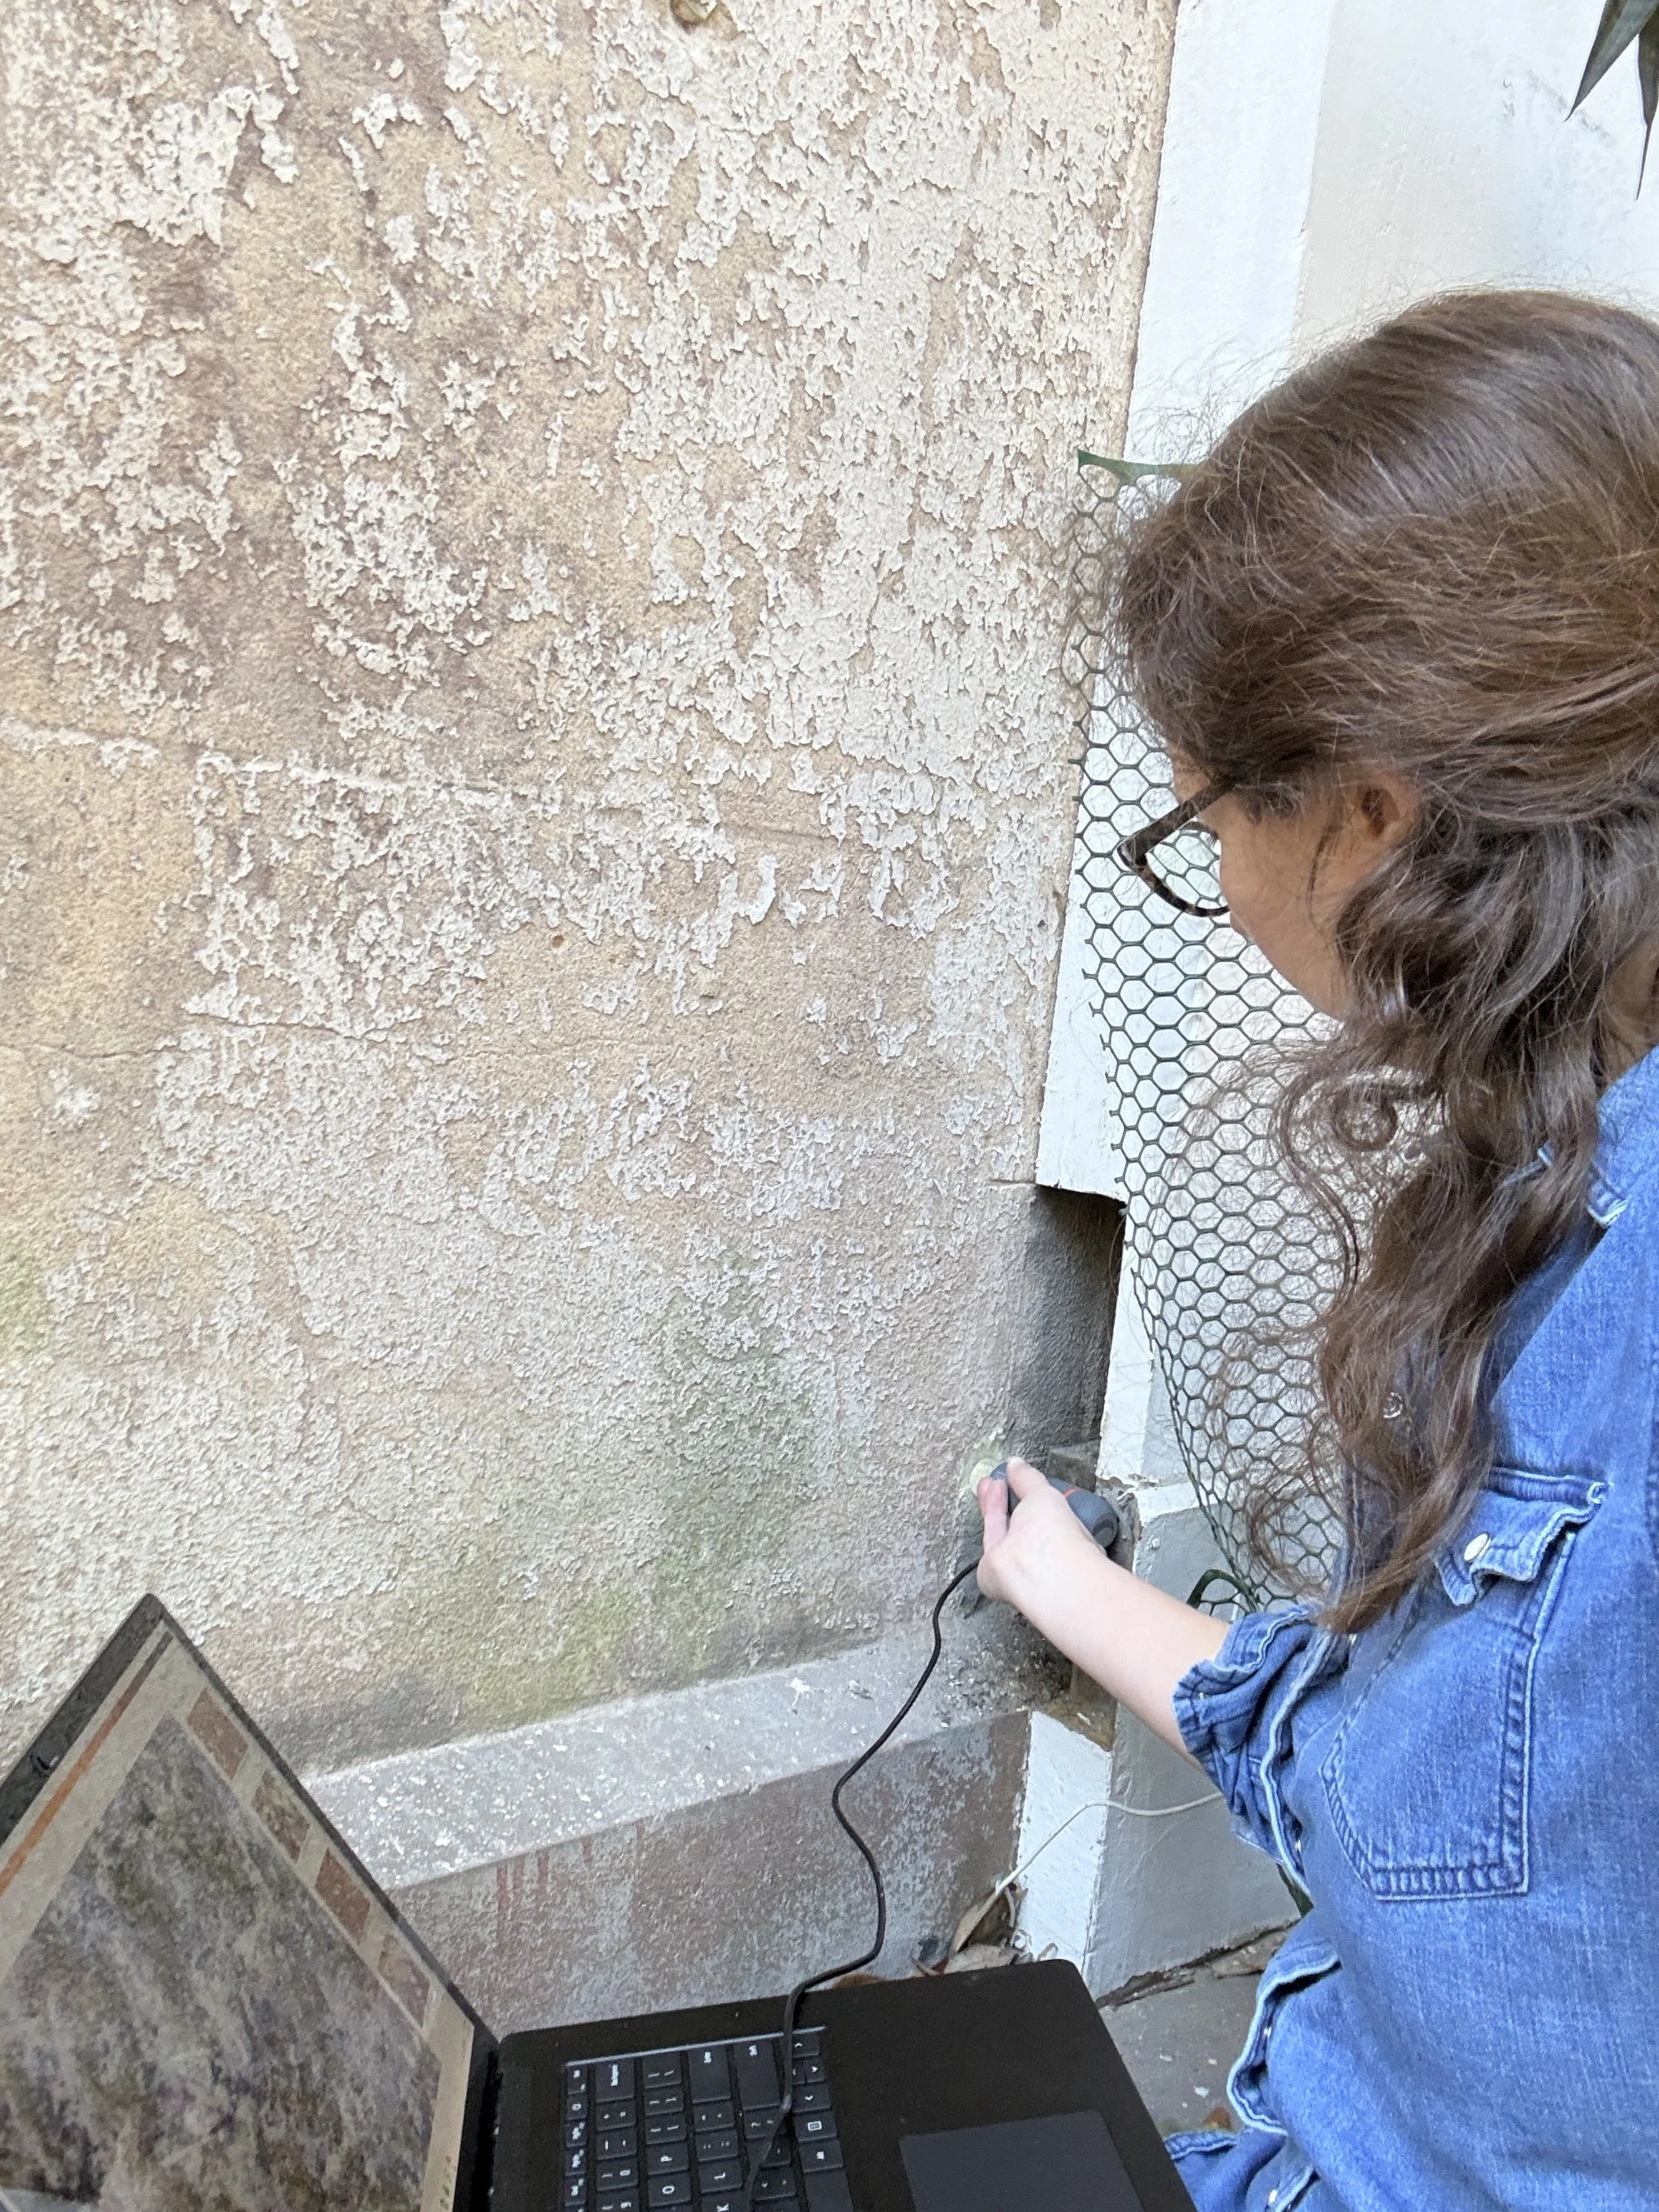
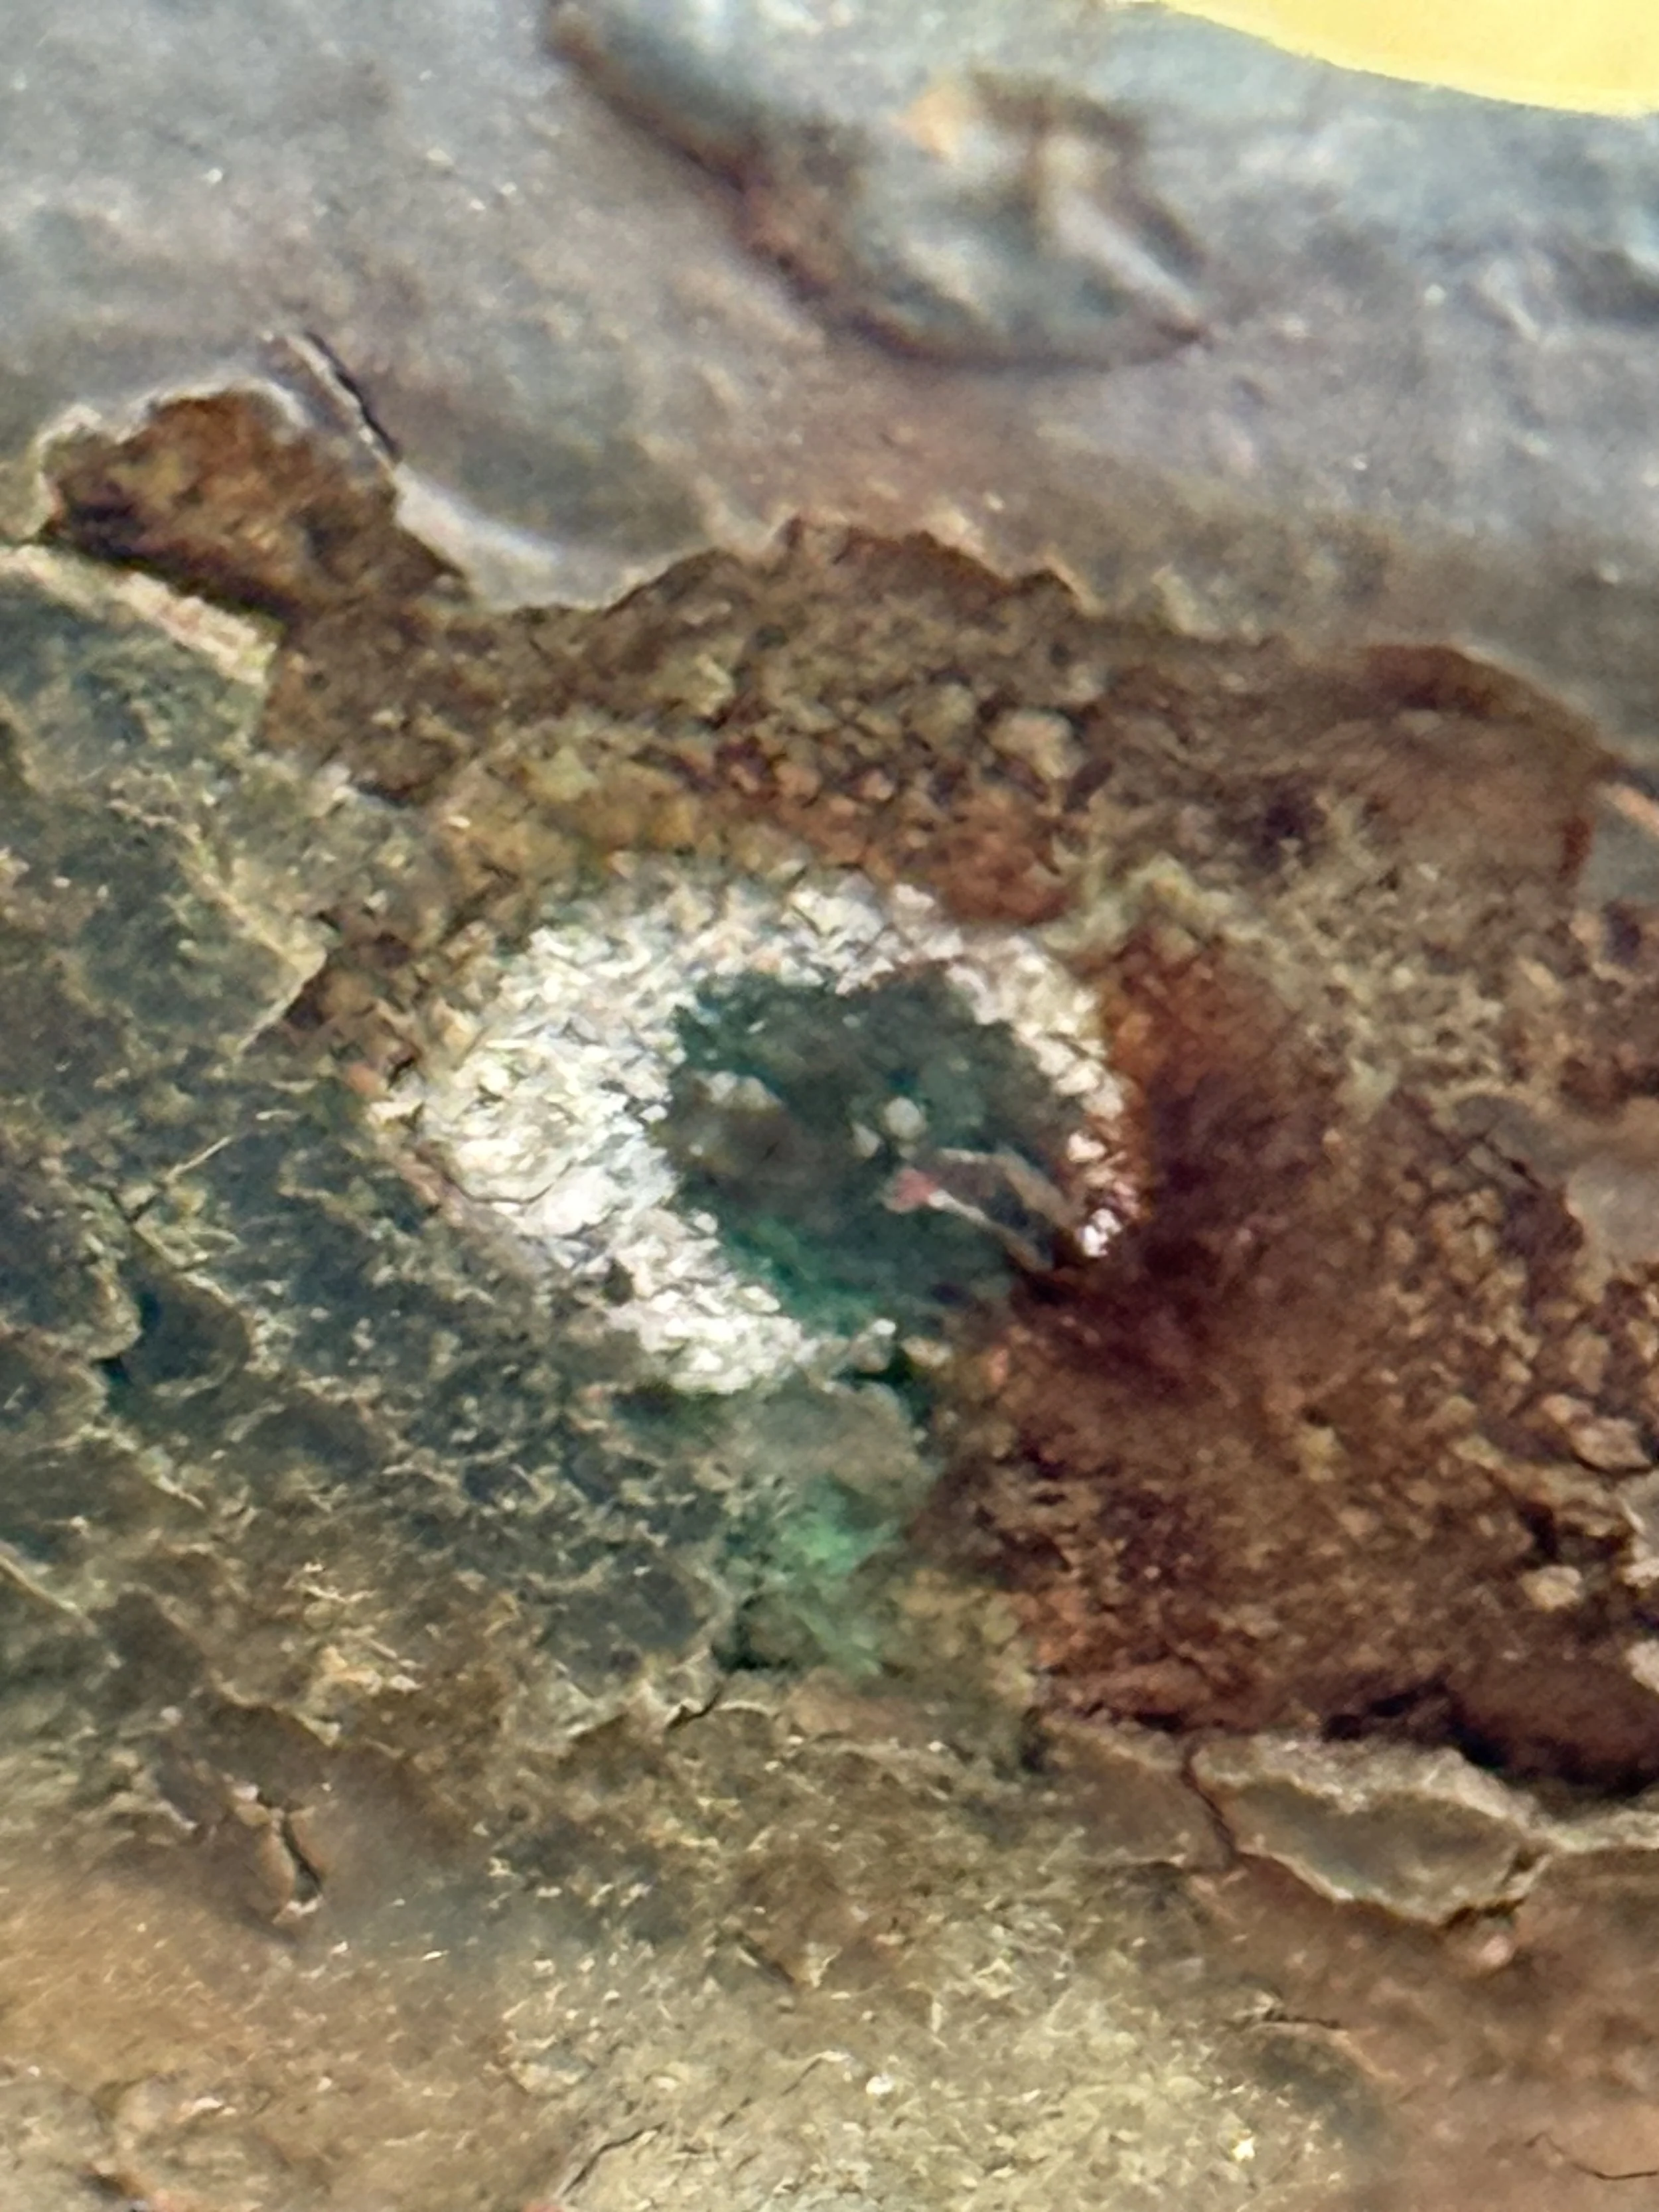
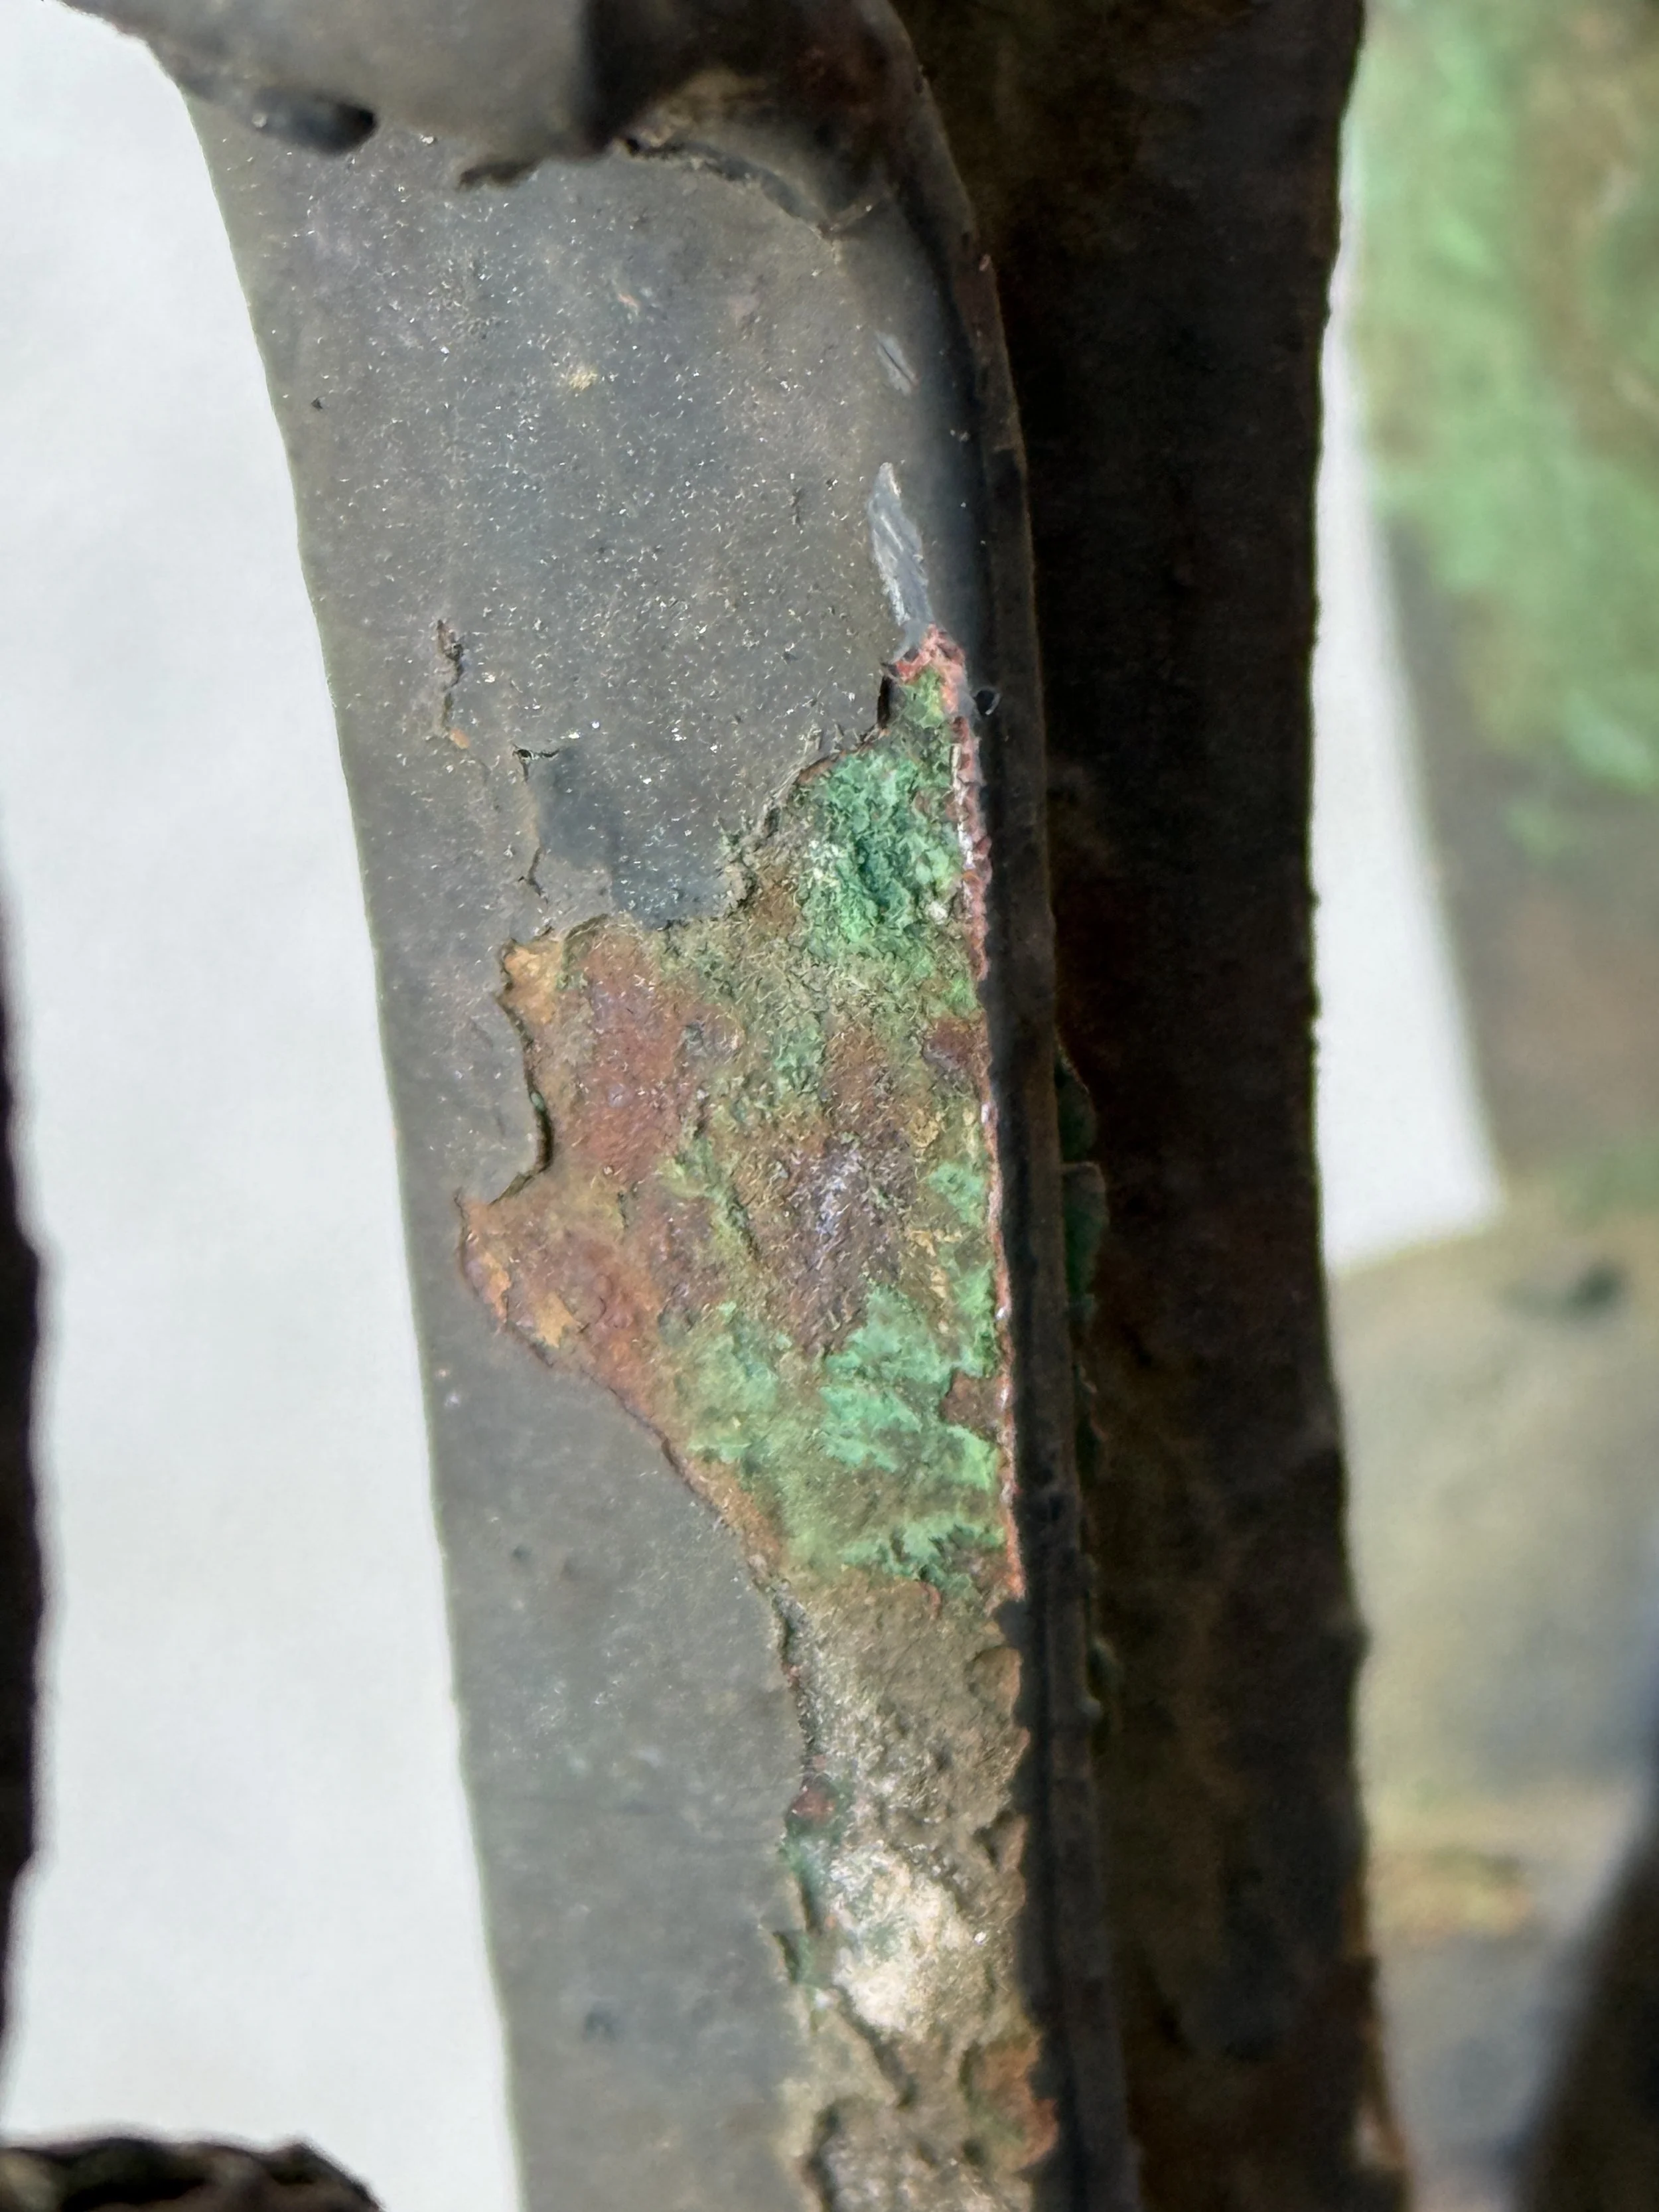
Before selecting locations, the team needed to get a general sense of the layers of finishes and locations where the surface has been protected over time. To do this, small craters or scrapings are made using a scalpel to observe the layers in-situ. The revealed layers can be viewed under a loupe or low magnification field microscope. Once the team has a sense of the number of layers and preliminary understanding of early colors, representative locations for reveals or sample removal can be selected.
Step 2: Sample Removal
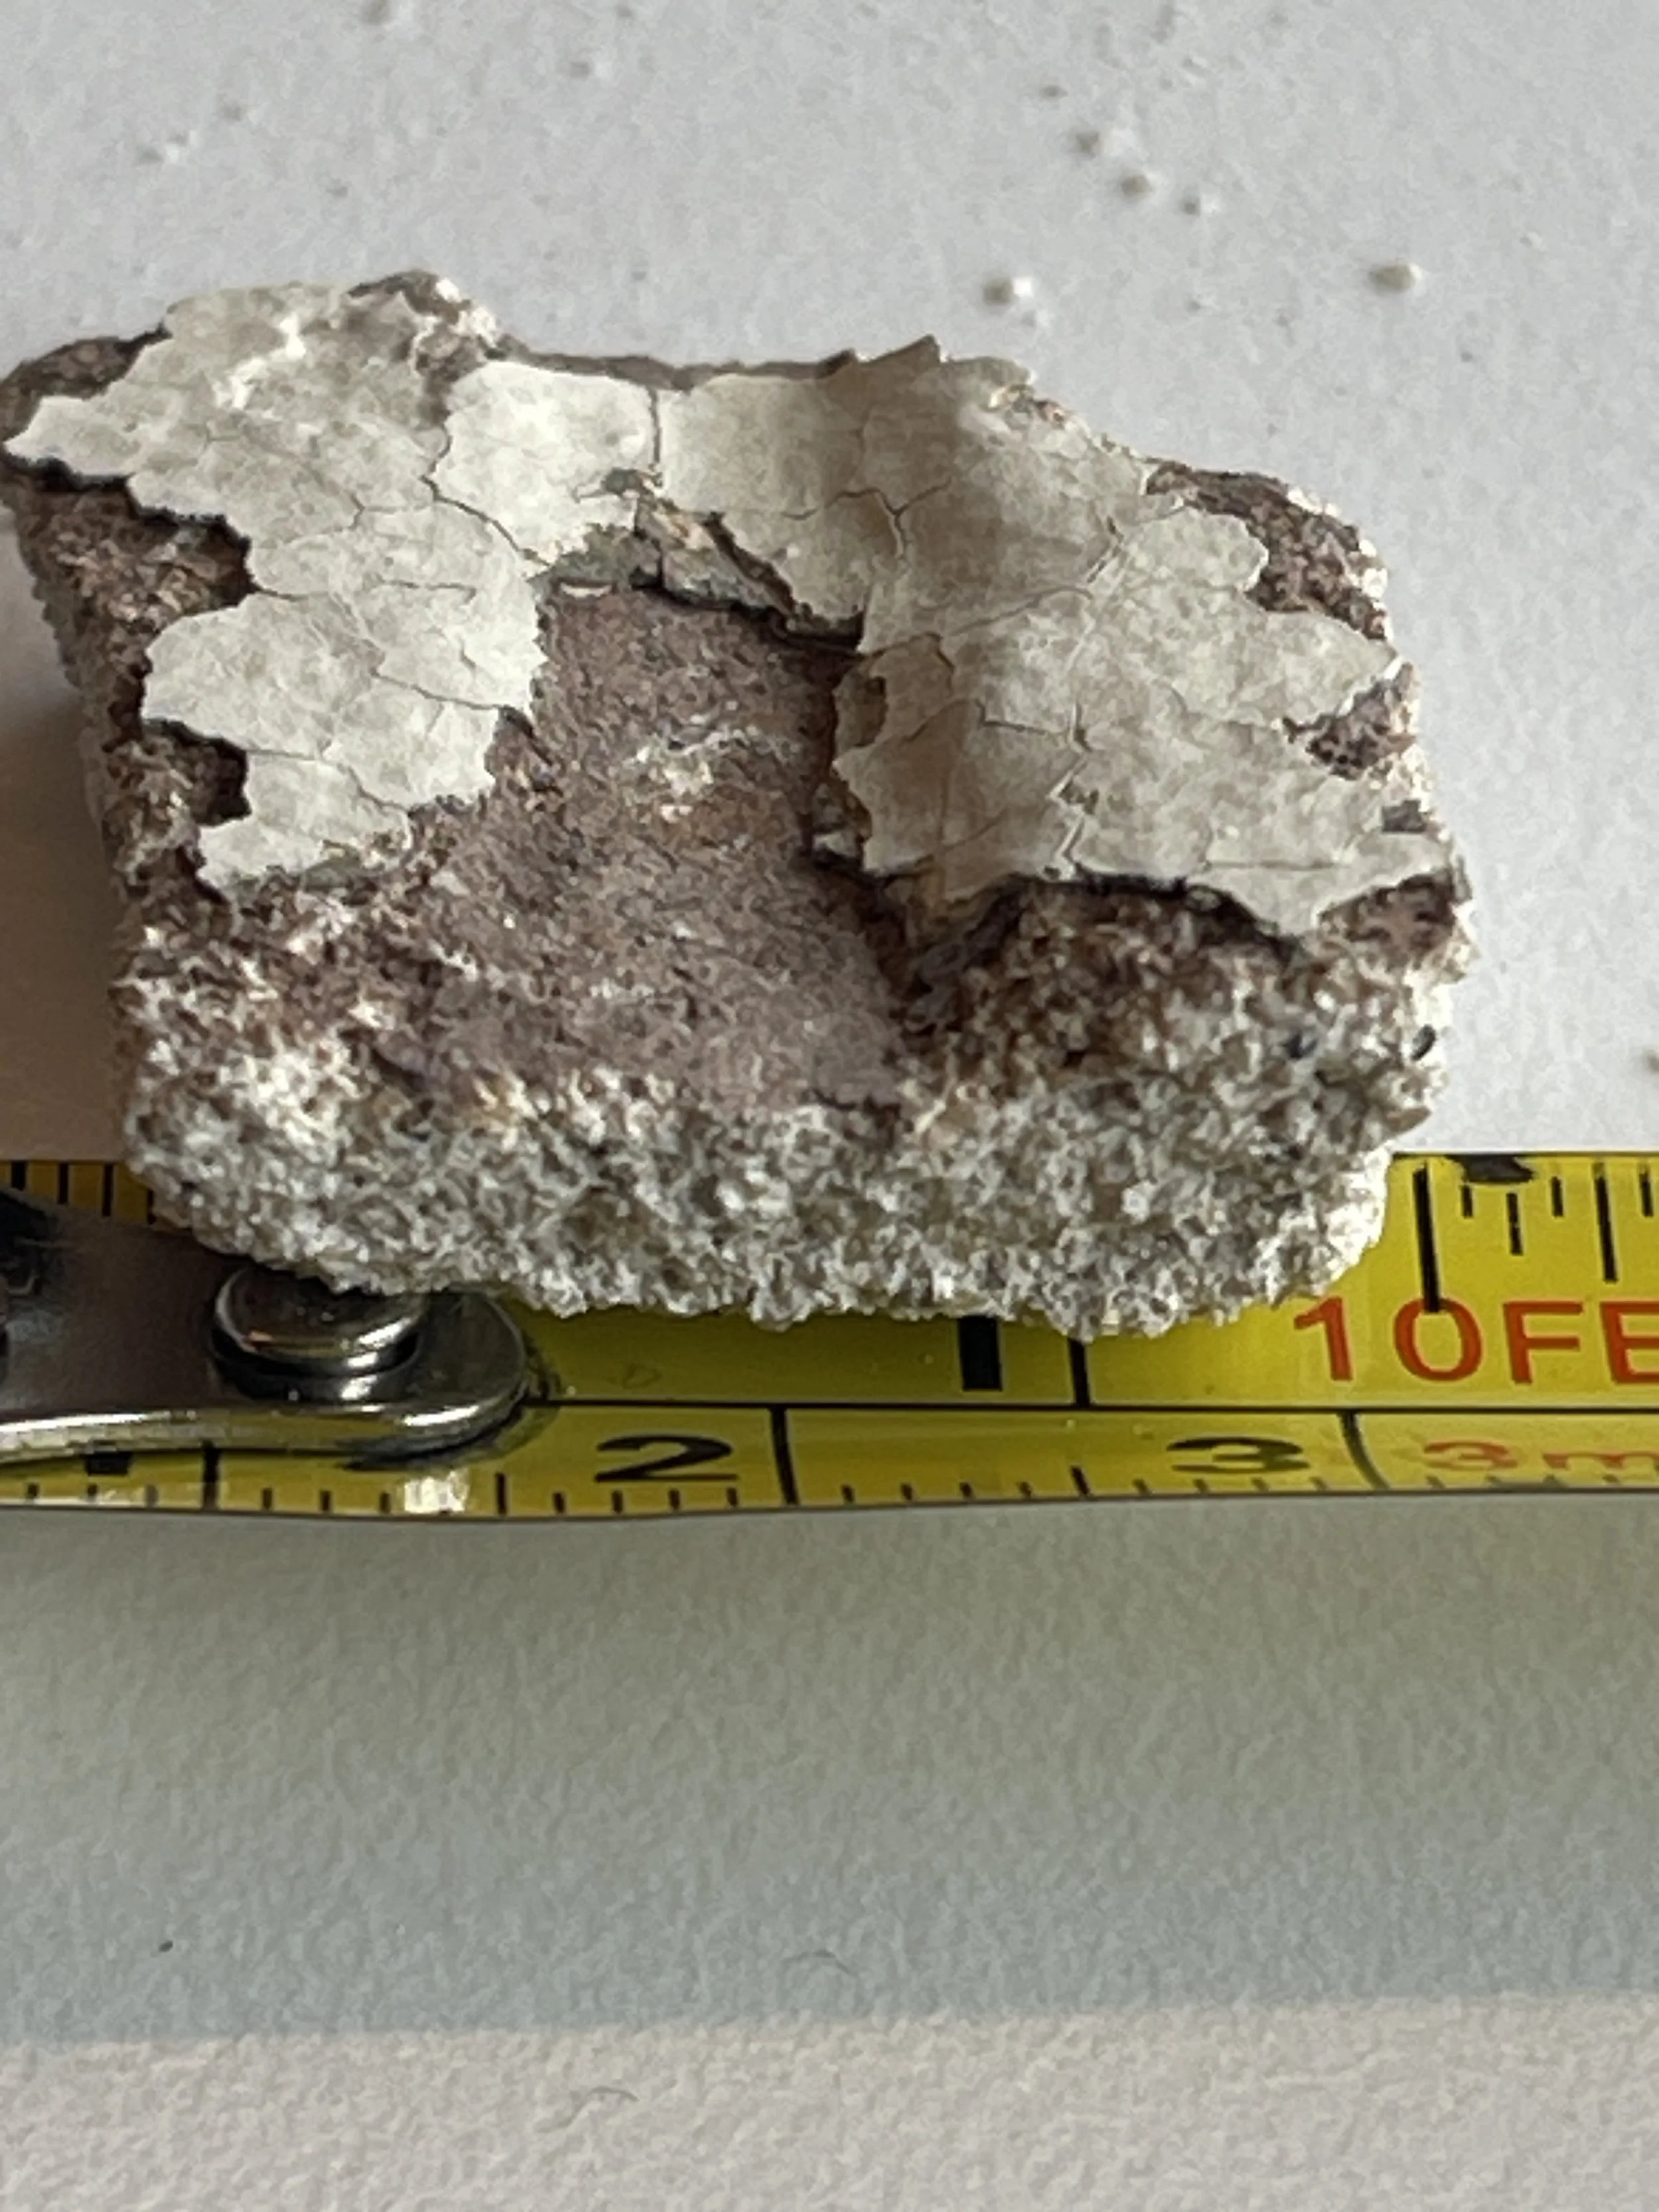
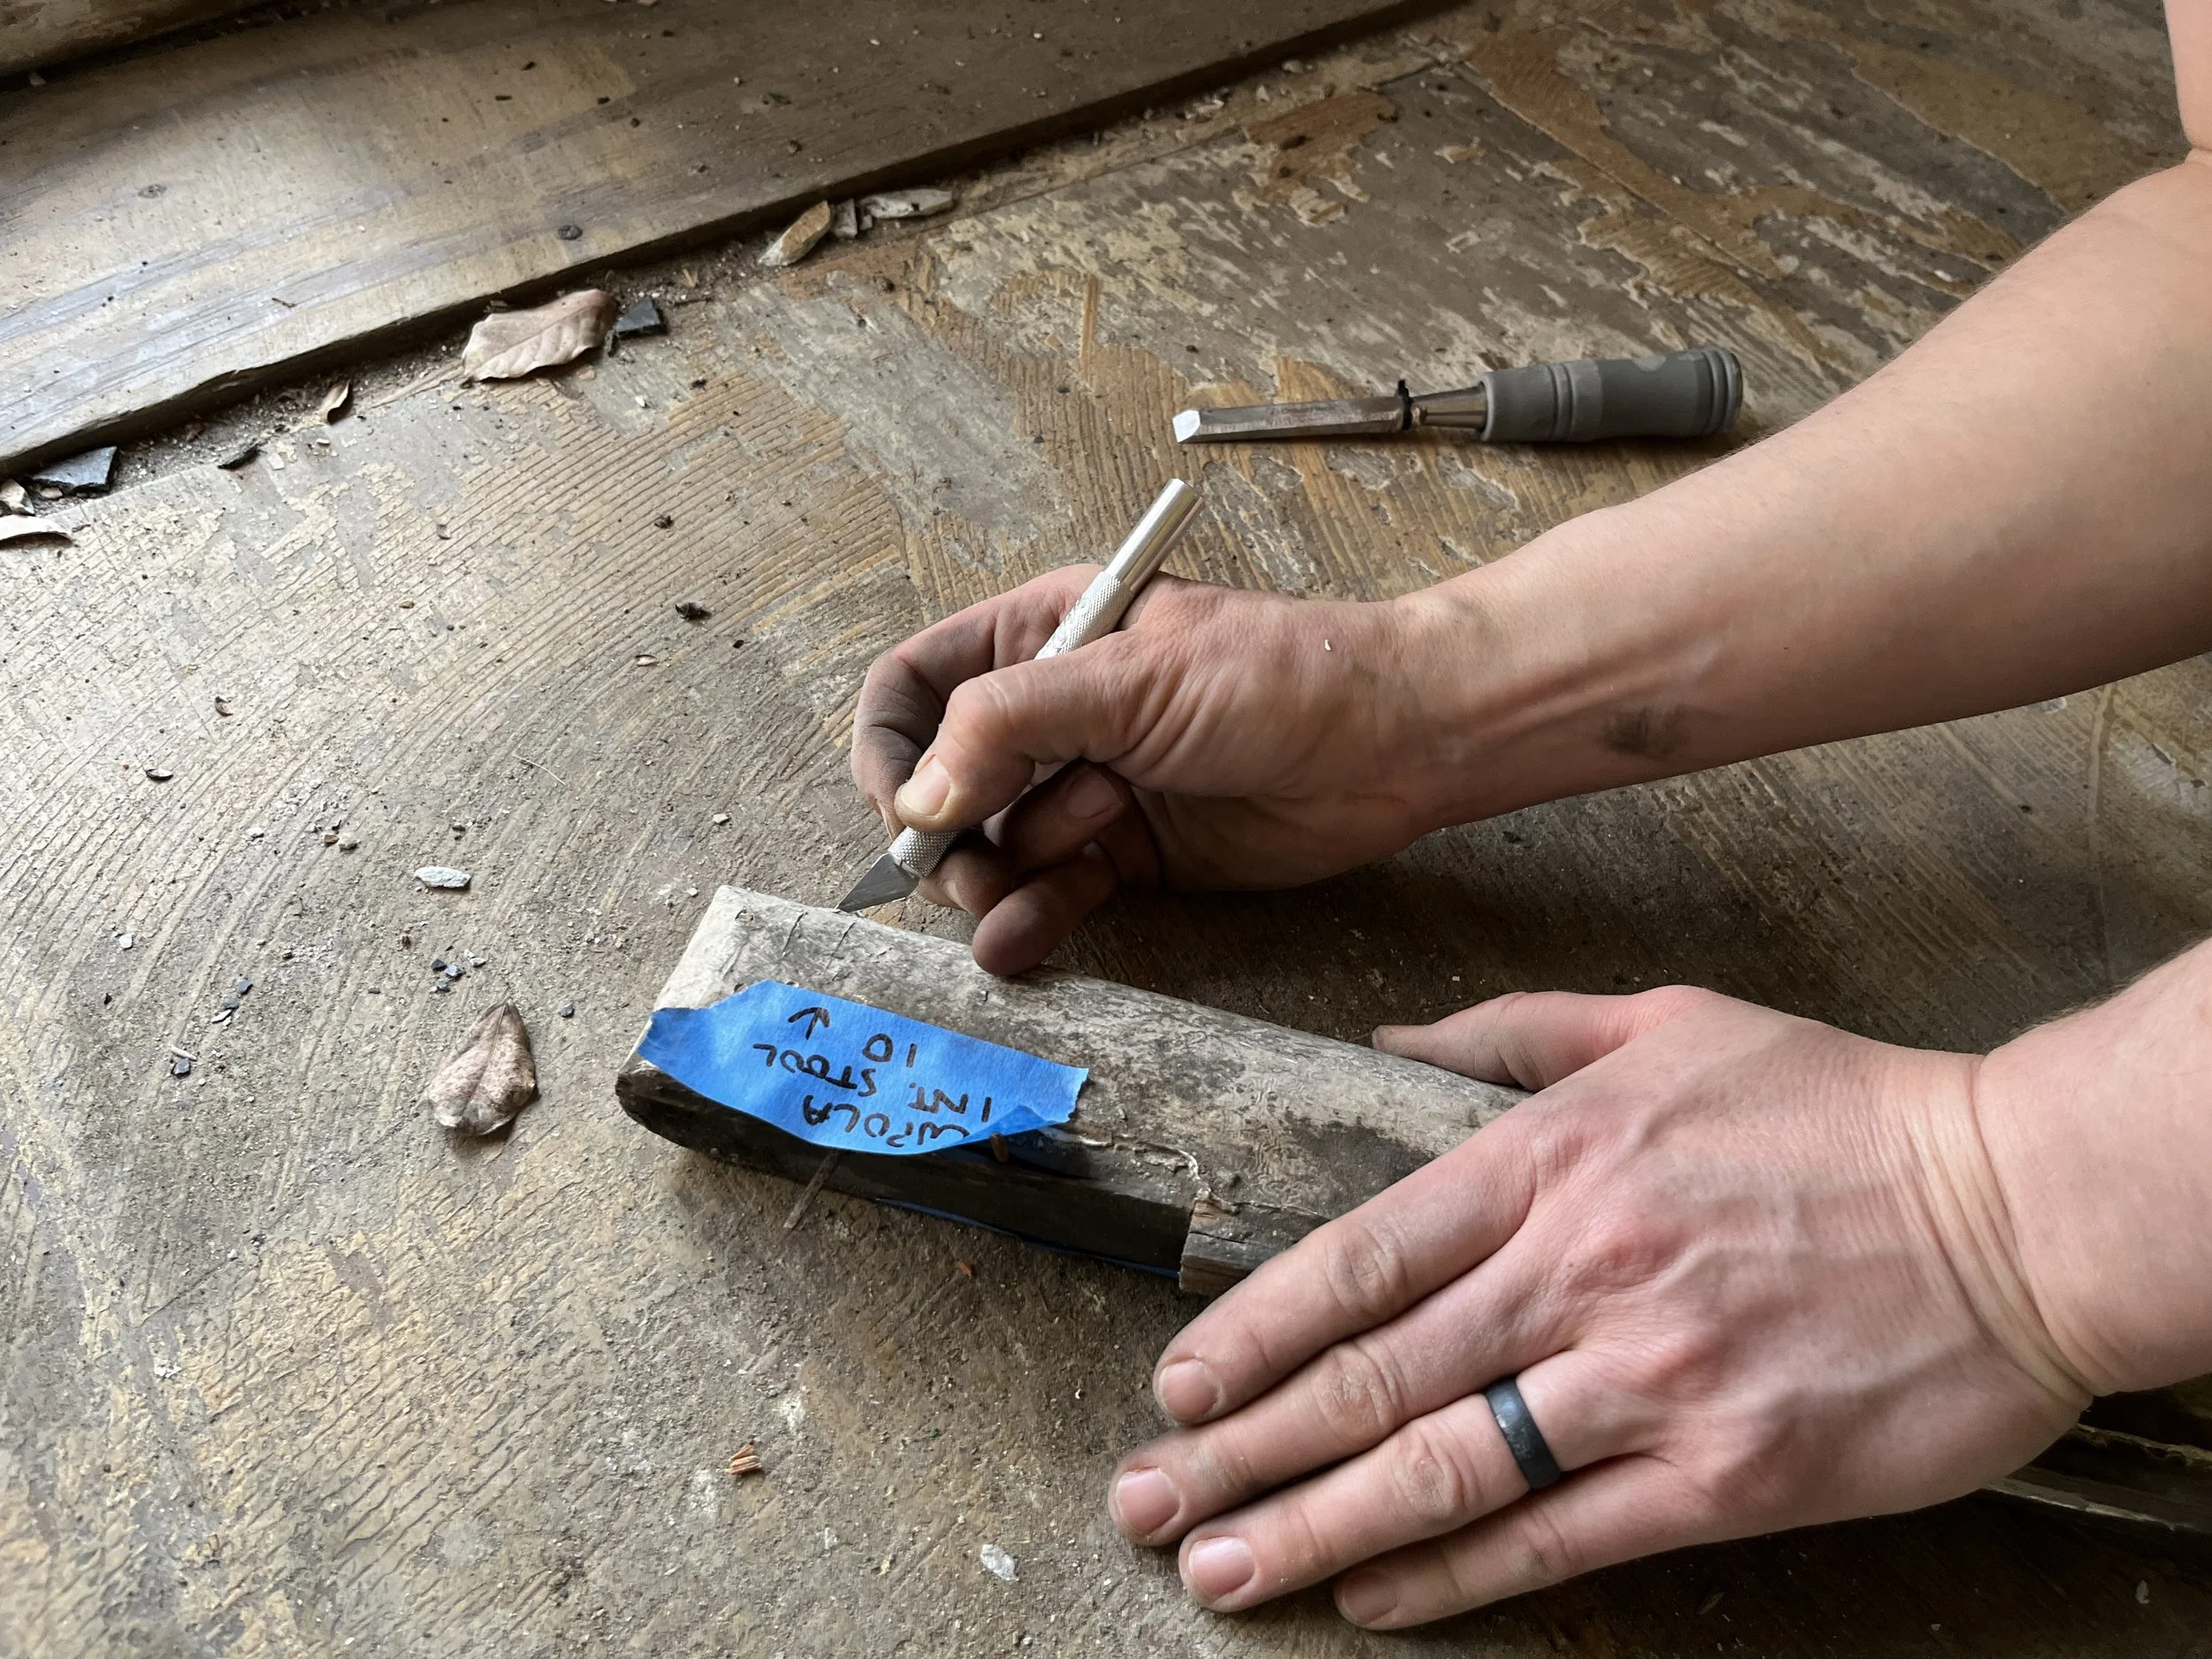
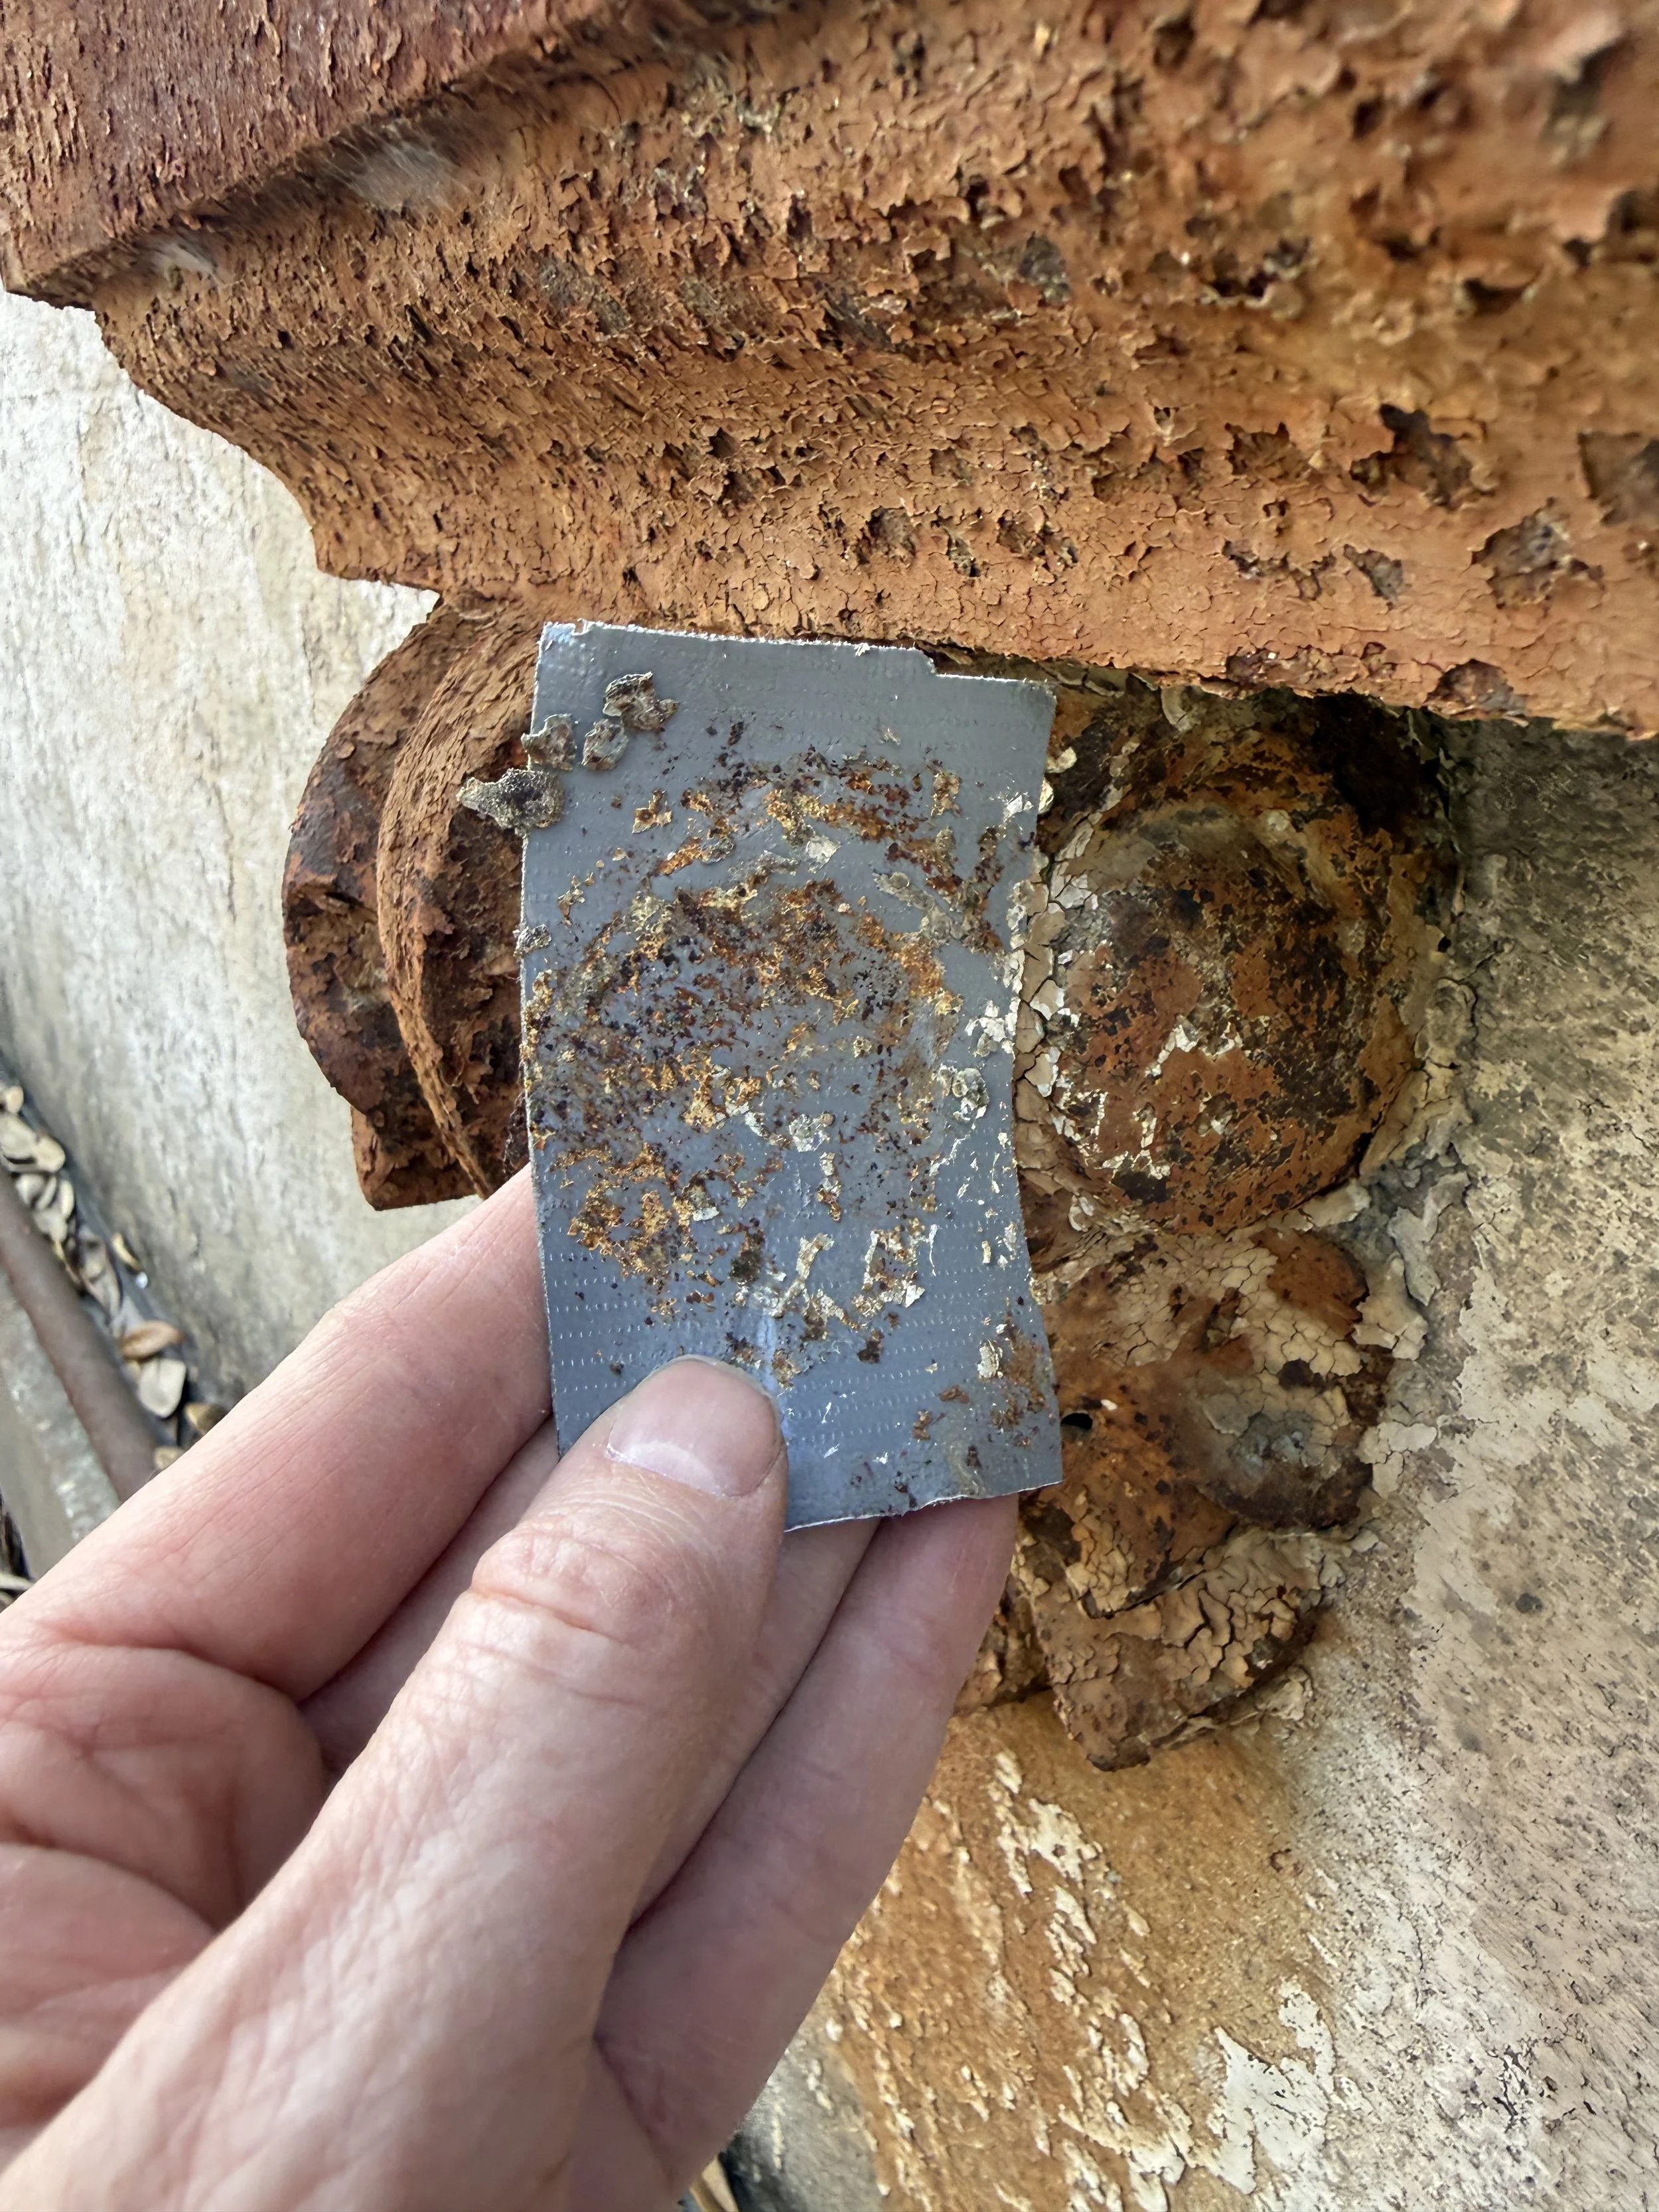
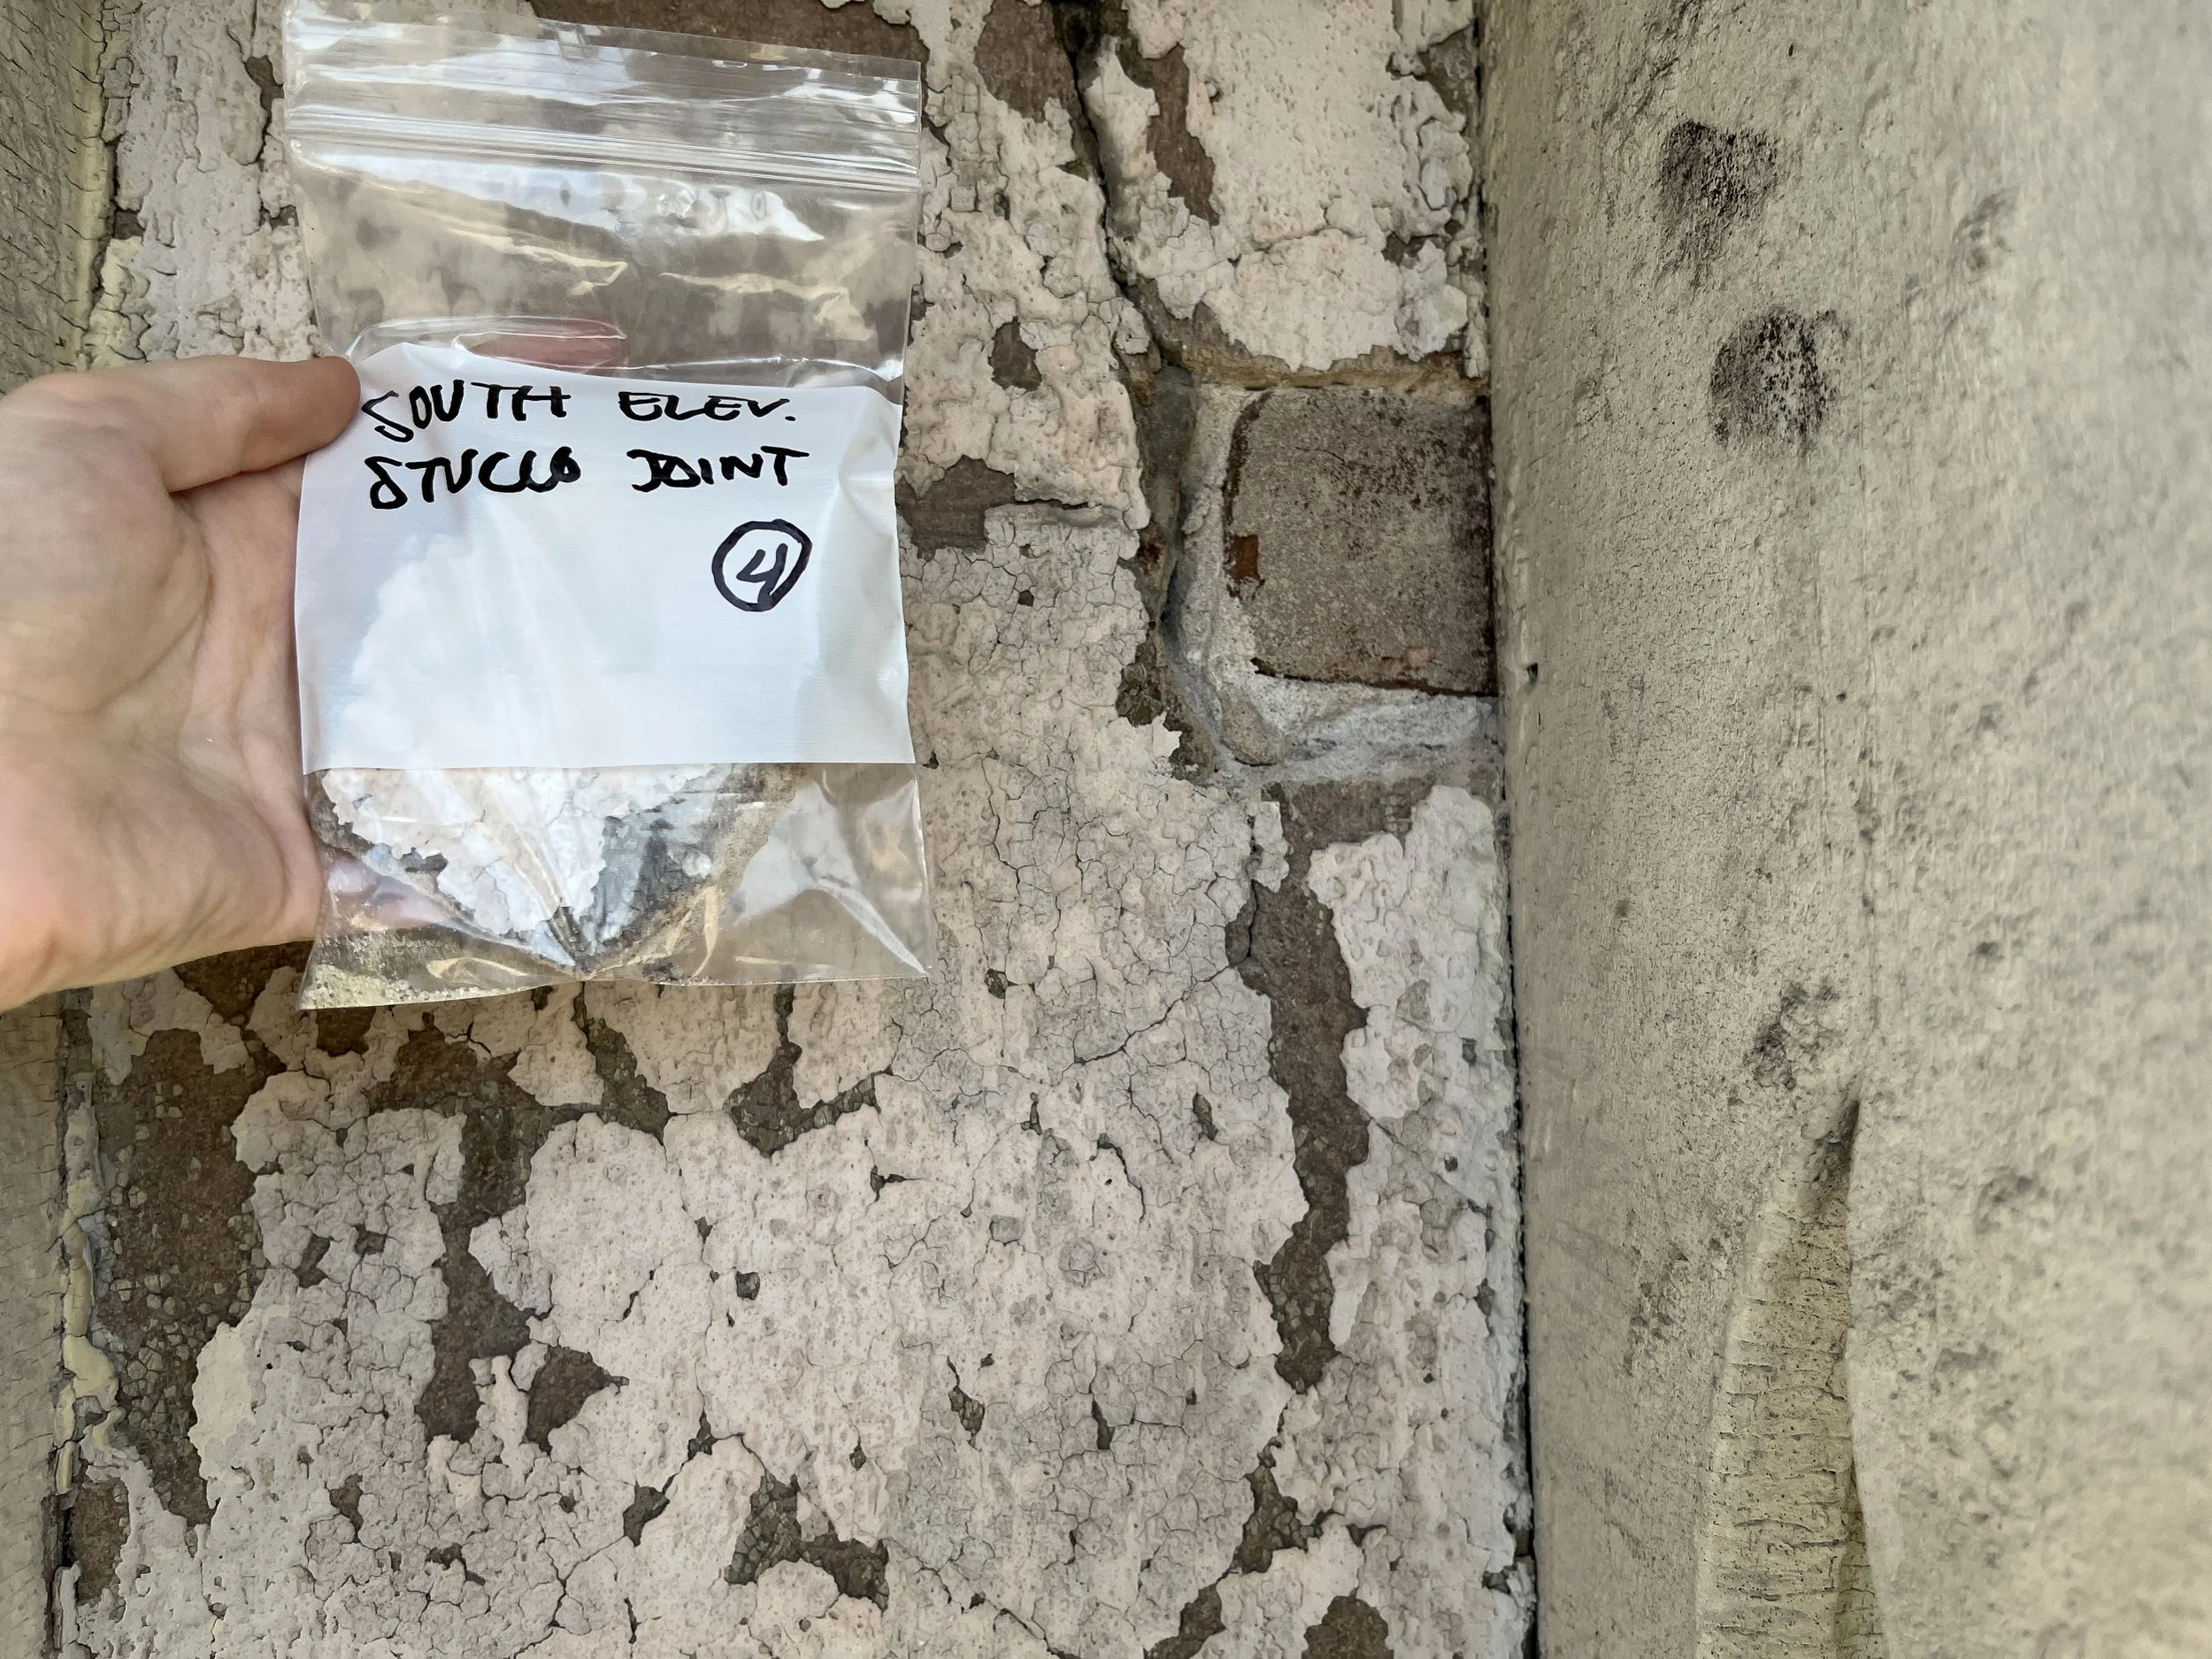
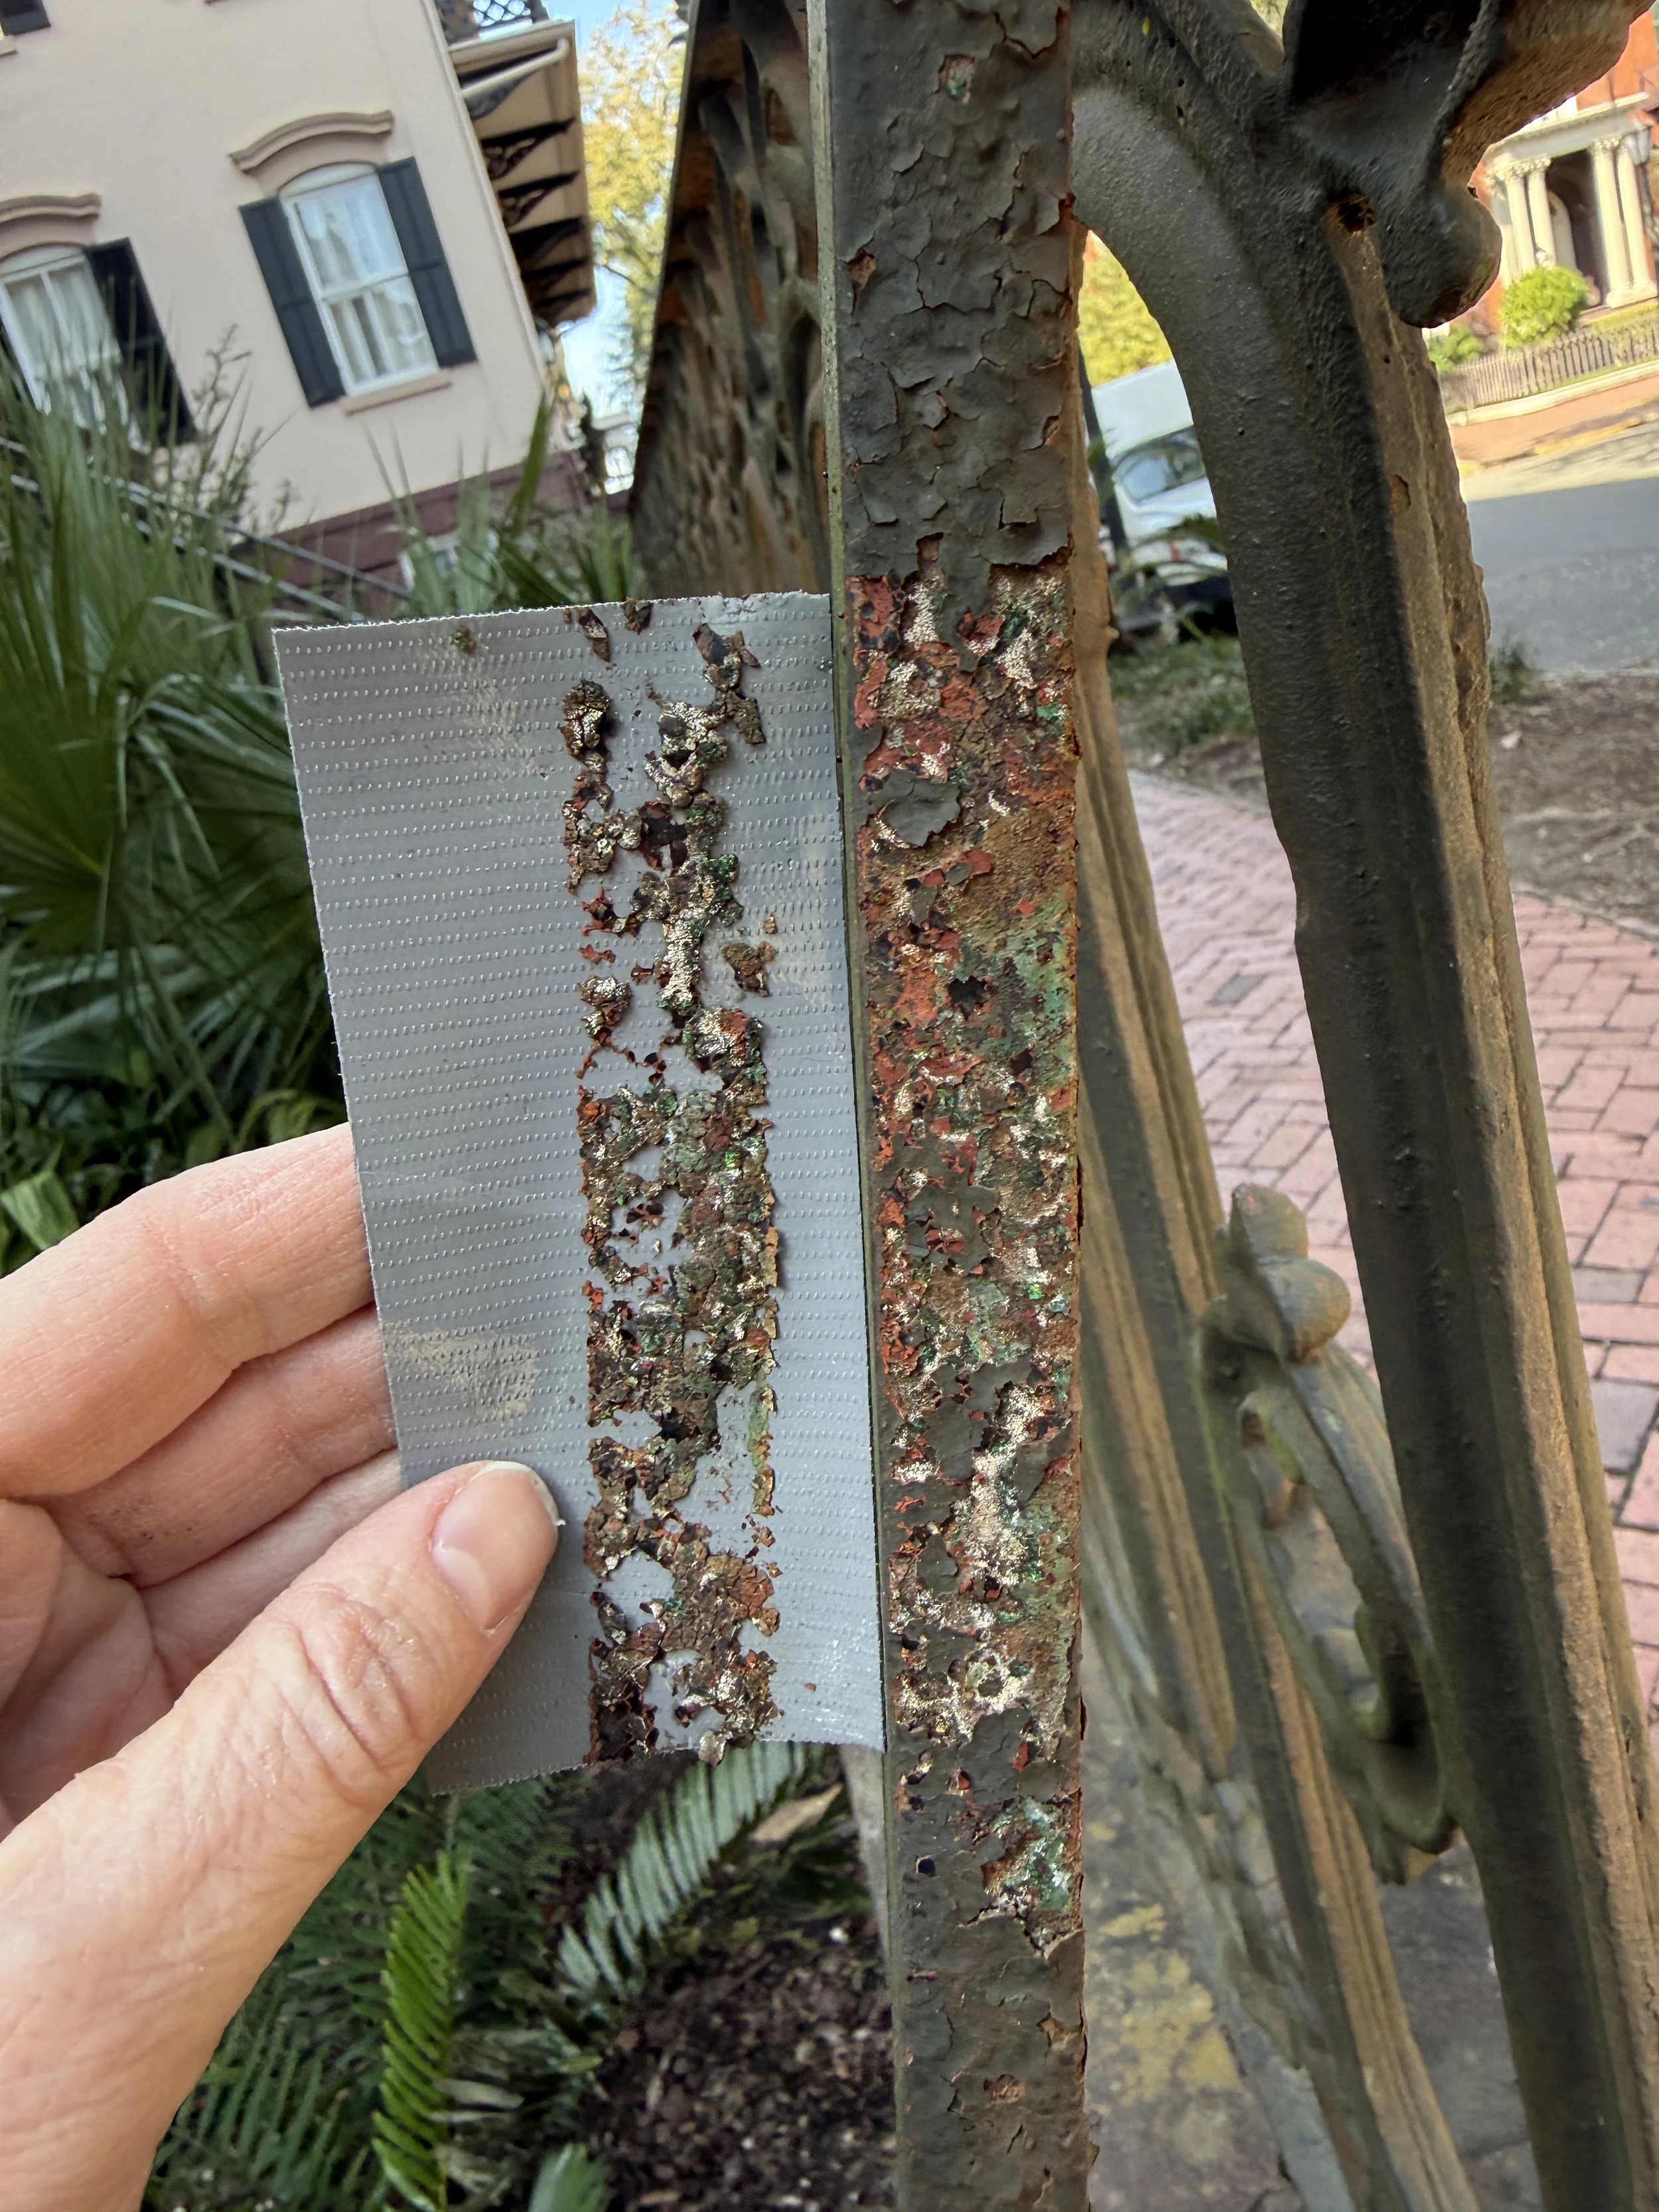
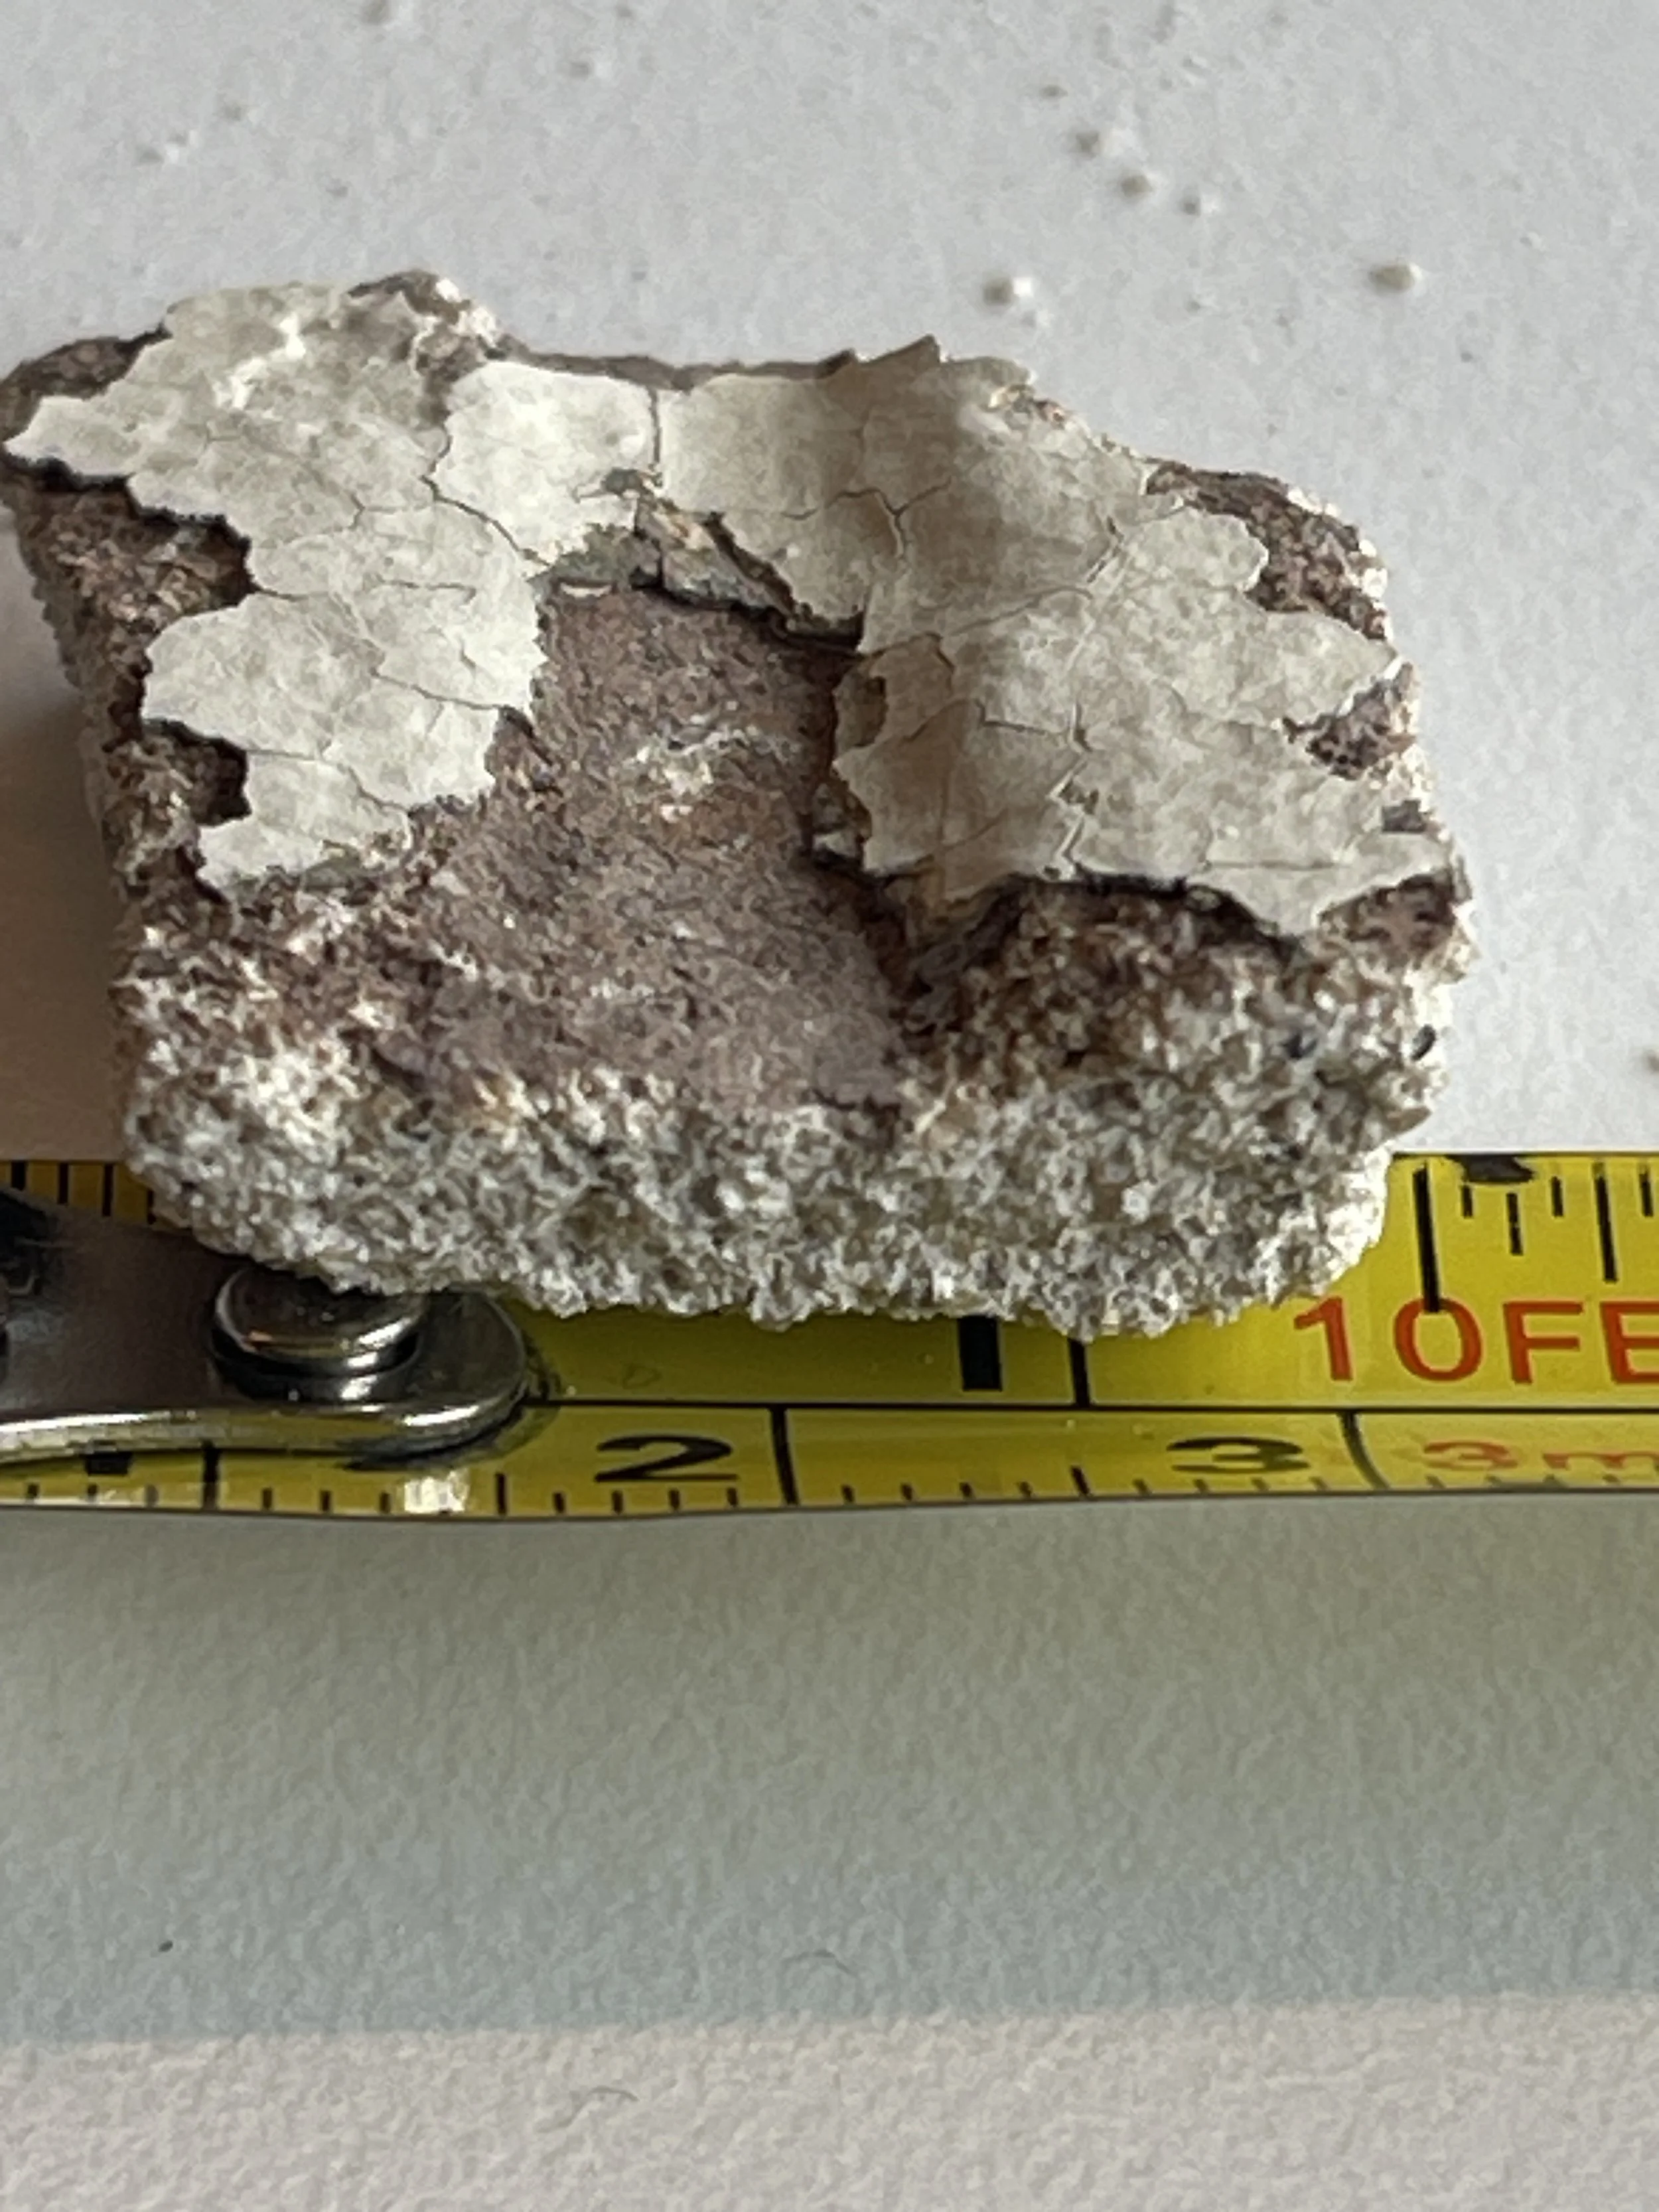
The team carefully selected representative locations for sampling. Depending on the substrate, small samples were removed using a small metal scalpel, a wood chisel and hammer, a small blade attached to an oscillating tool, and adhesive tape that was burnished and then peeled from the painted surface. Samples from the exterior metal elements, wood elements, stucco, and sandstone were removed and returned to ICR’s lab for further analysis. For a project this size, it is common to remove hundreds of small samples for further review in the laboratory. There we’ll select the most useful samples for cross-section microscopy and analytical testing.
Step 3: Sample Preparation
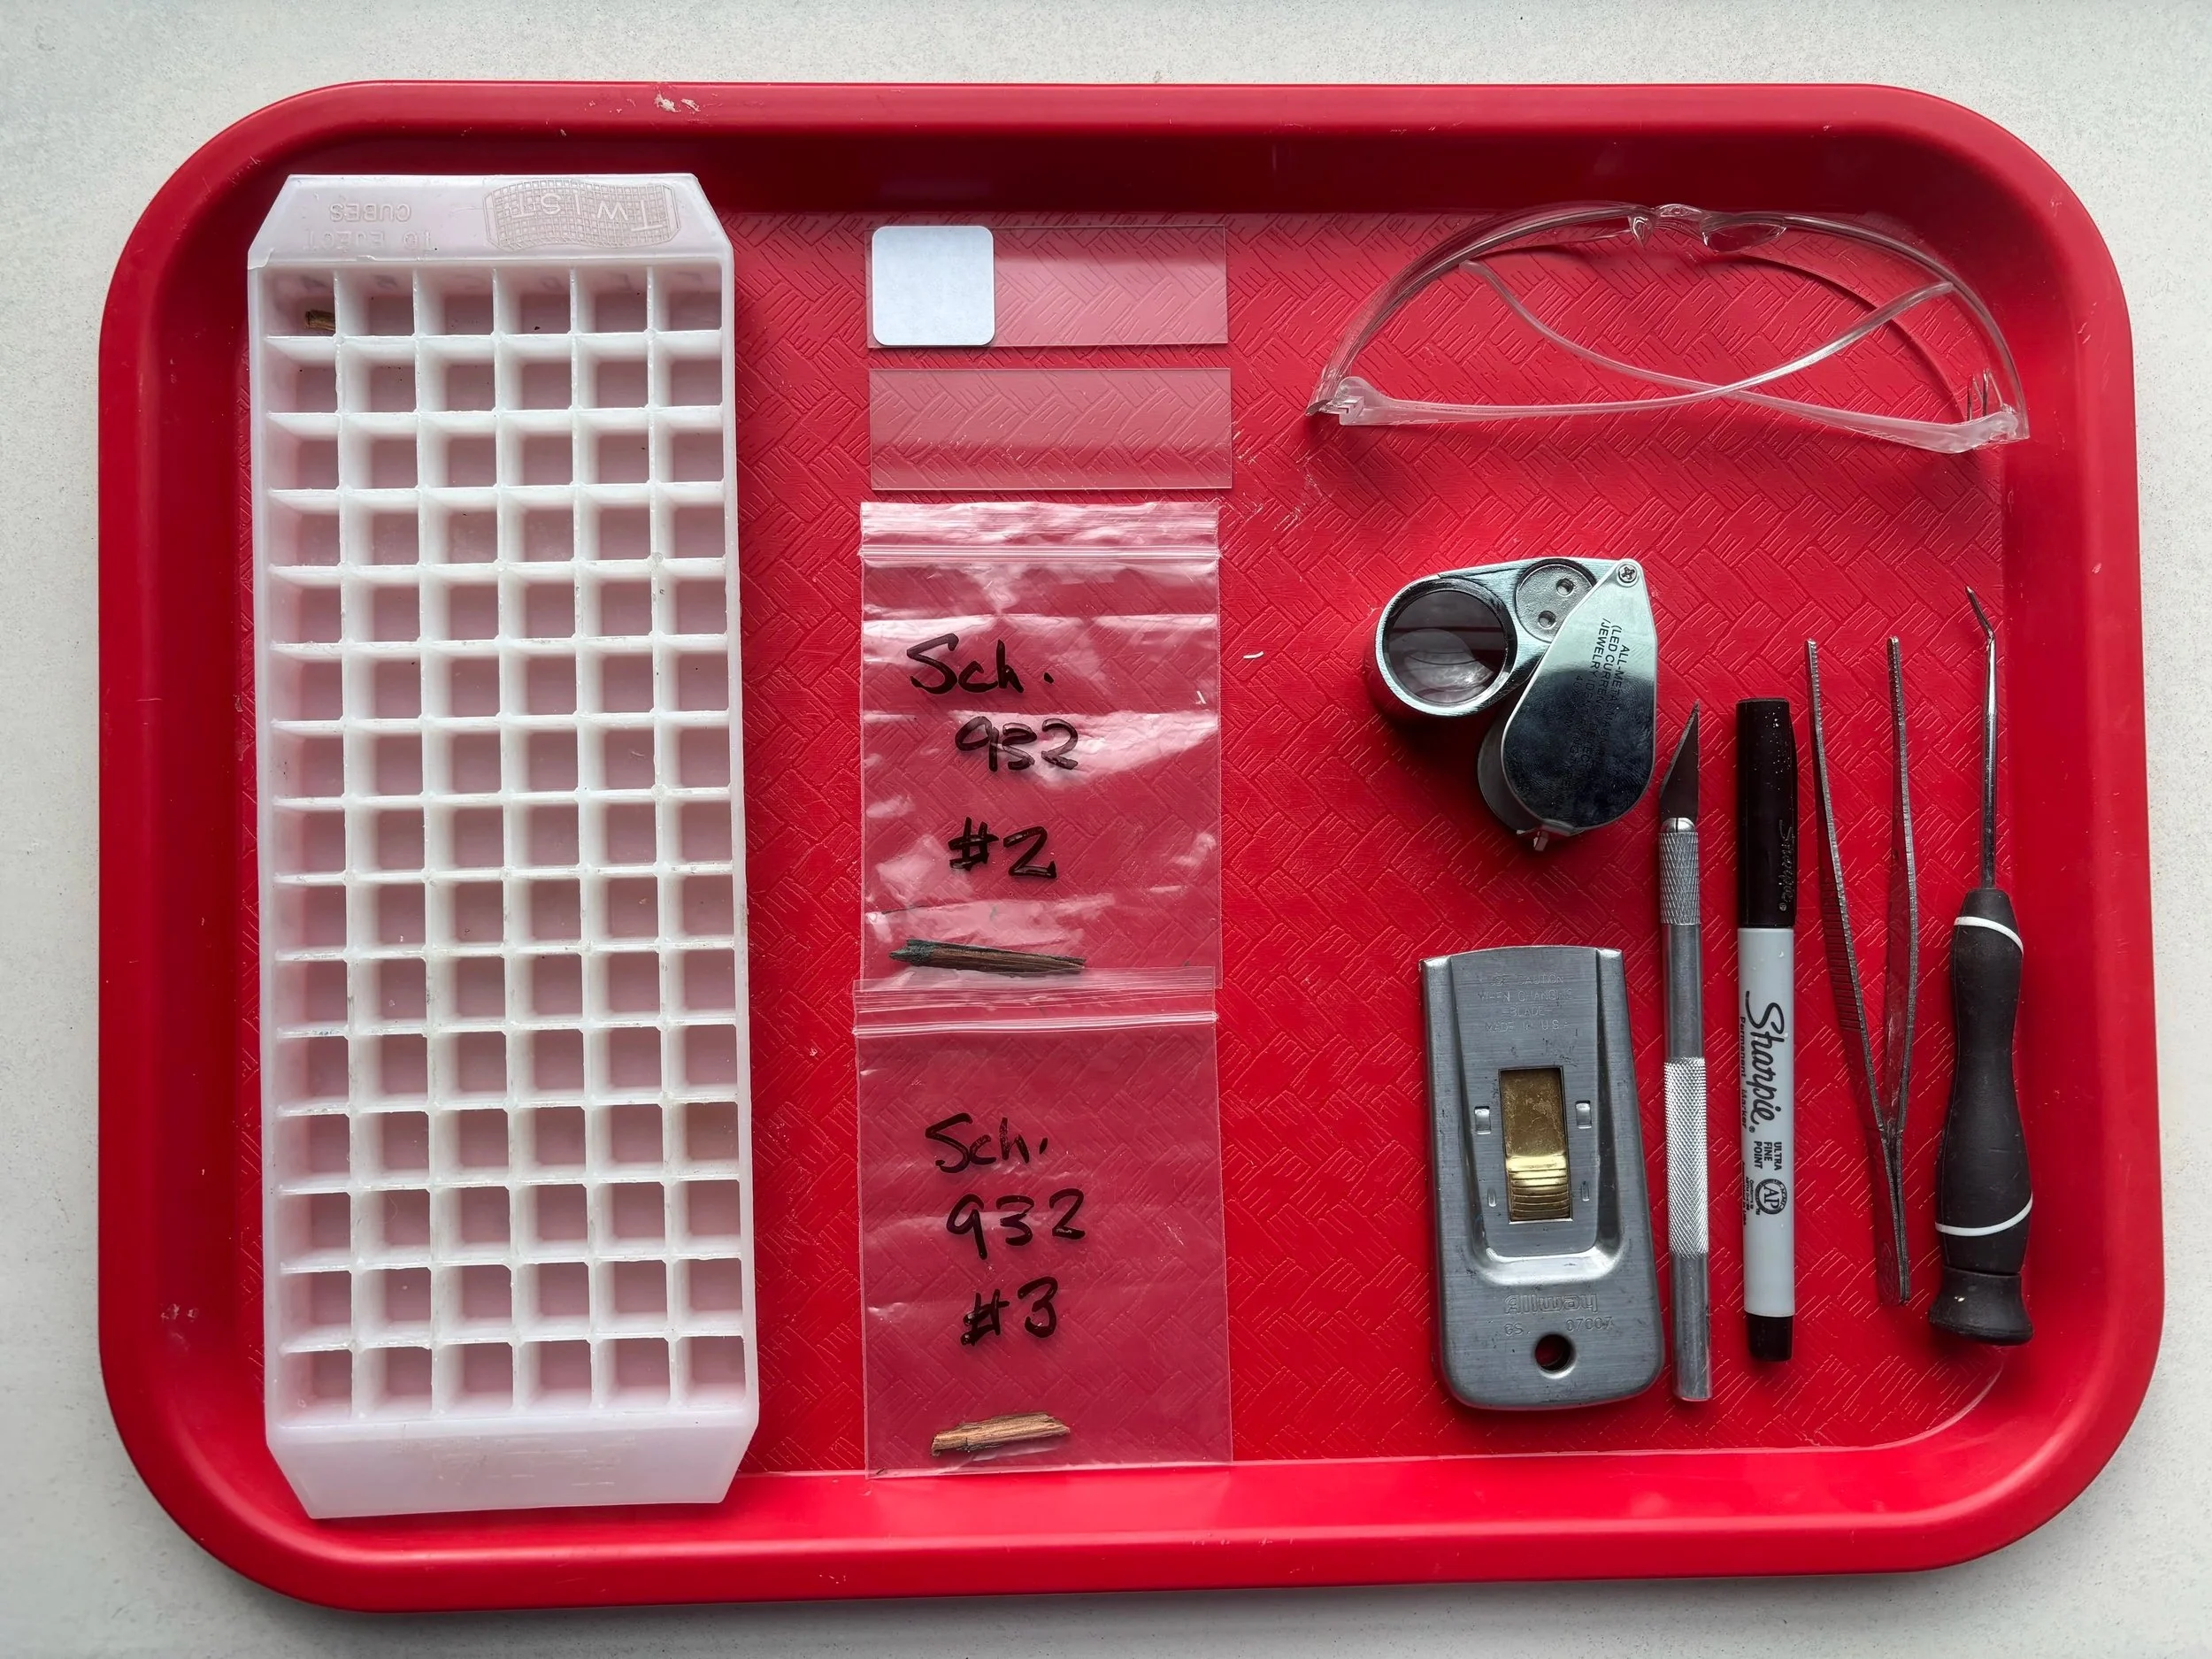
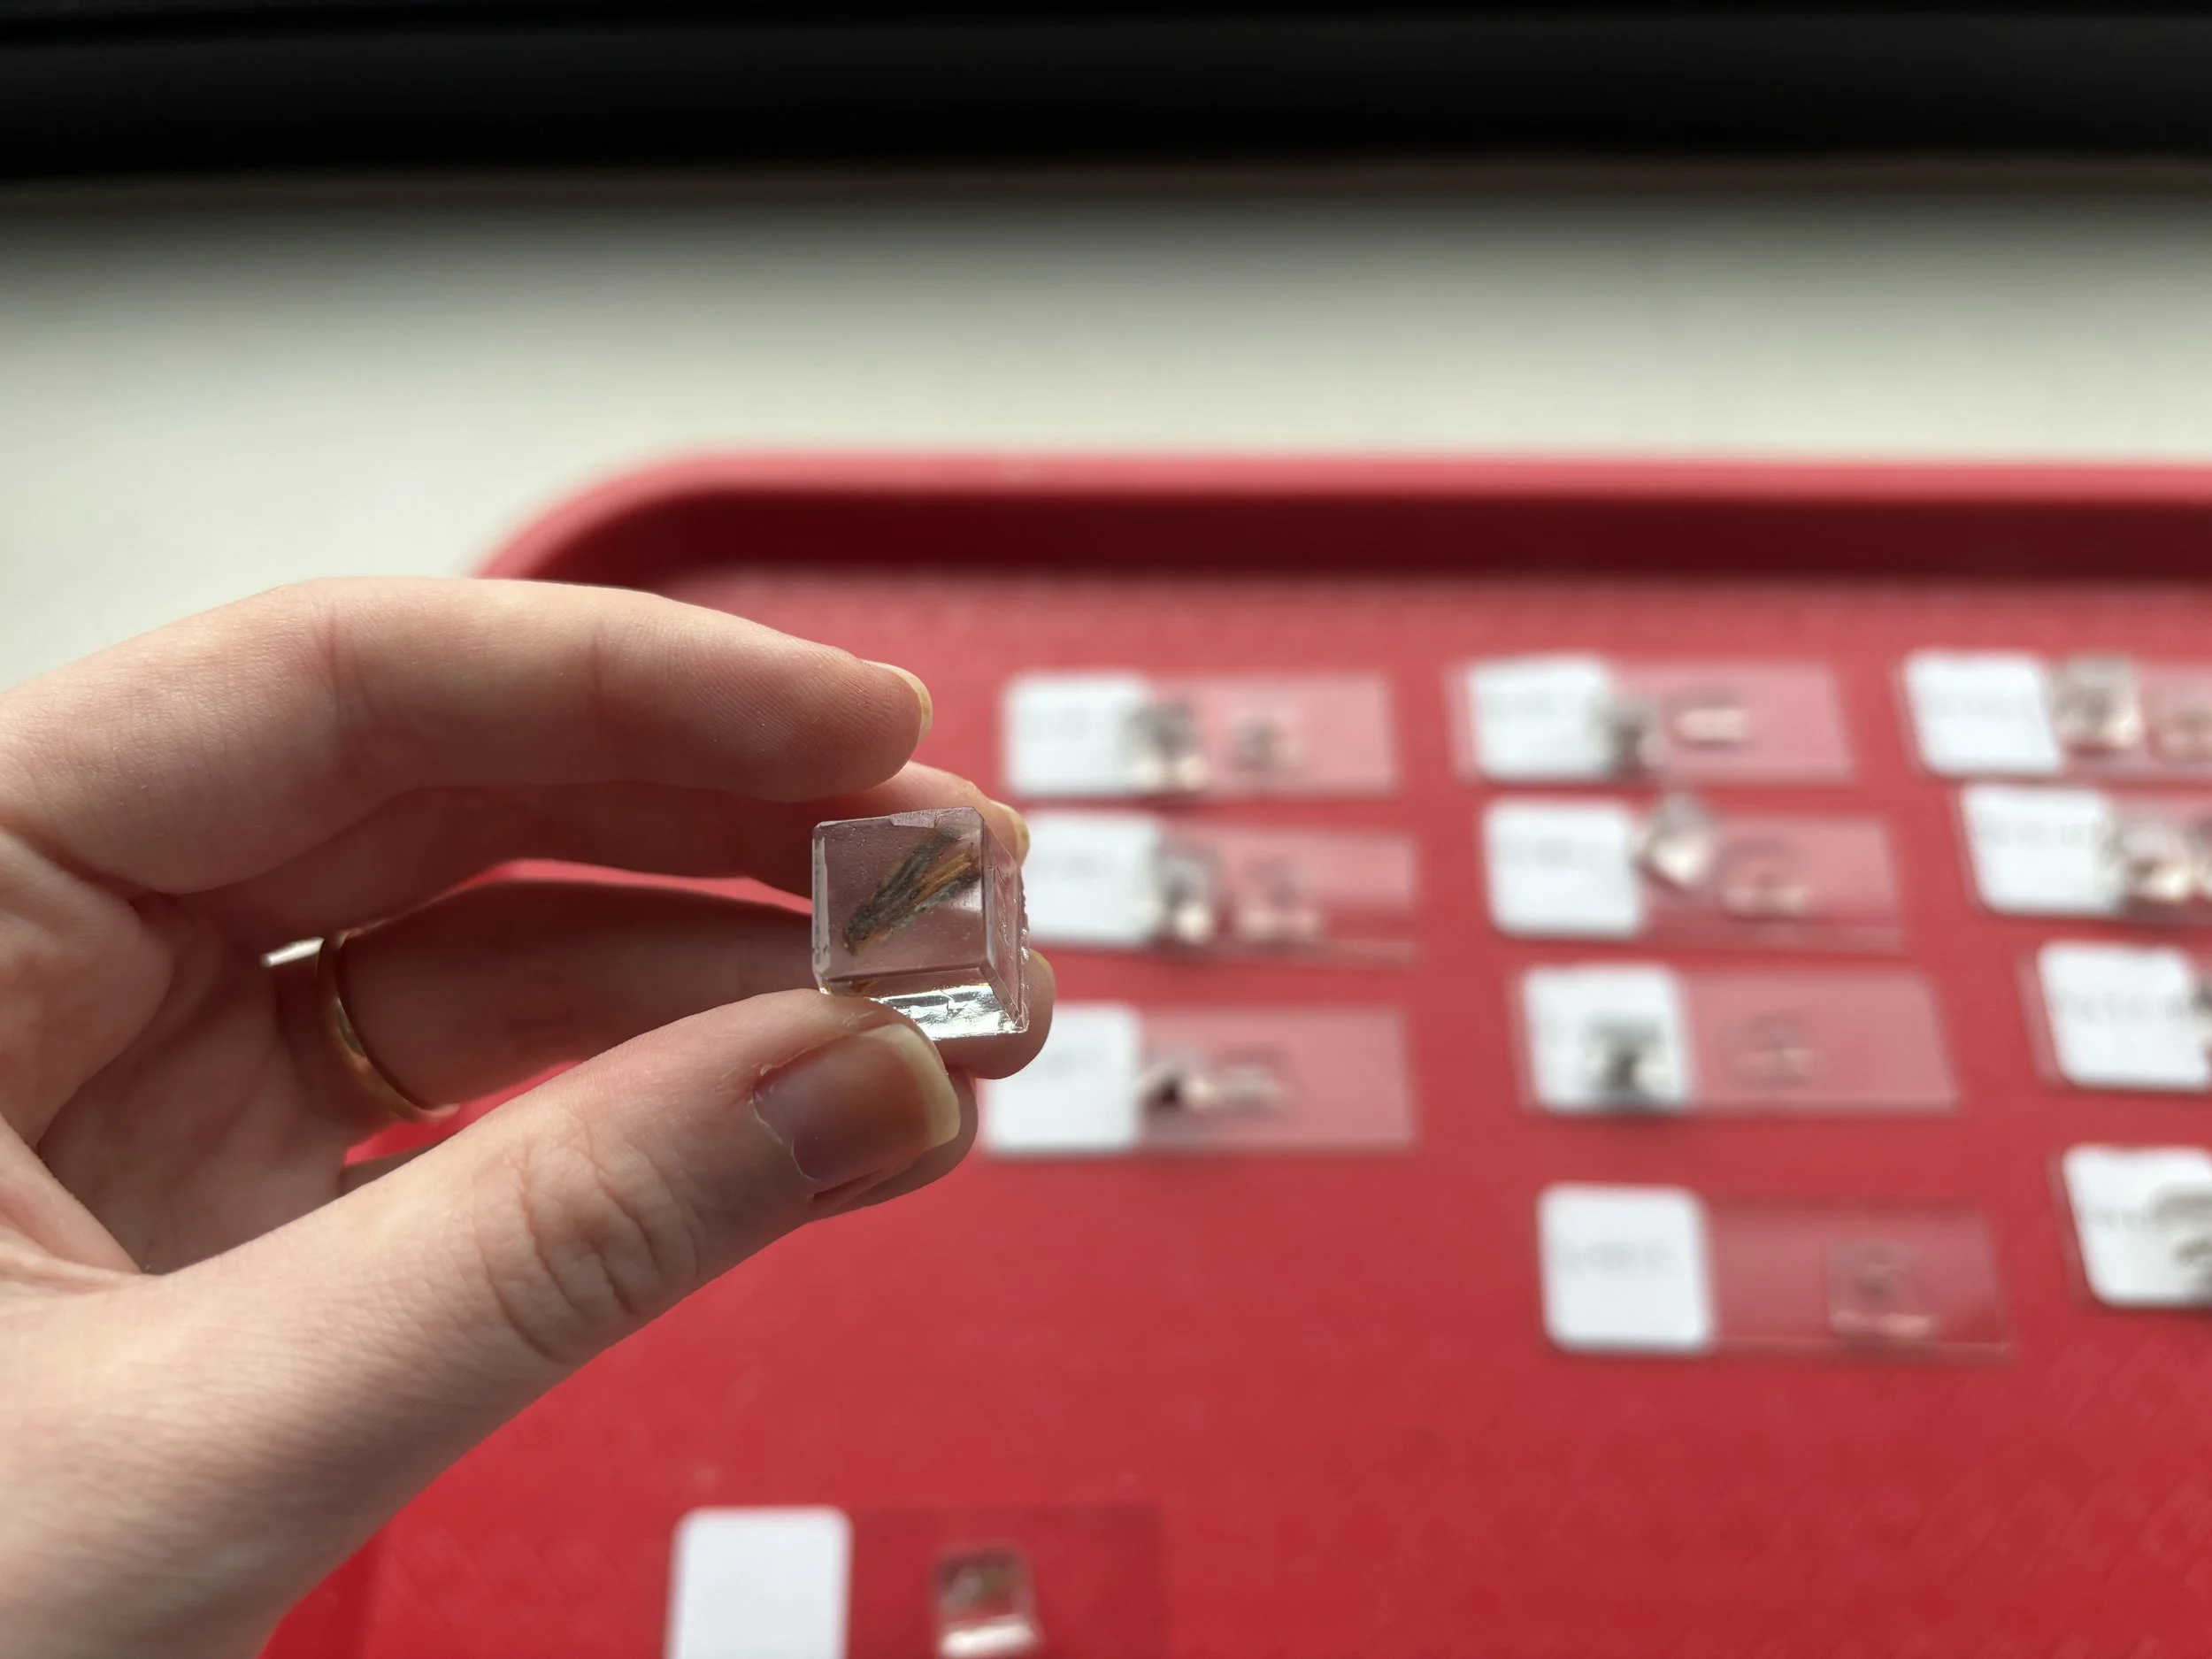
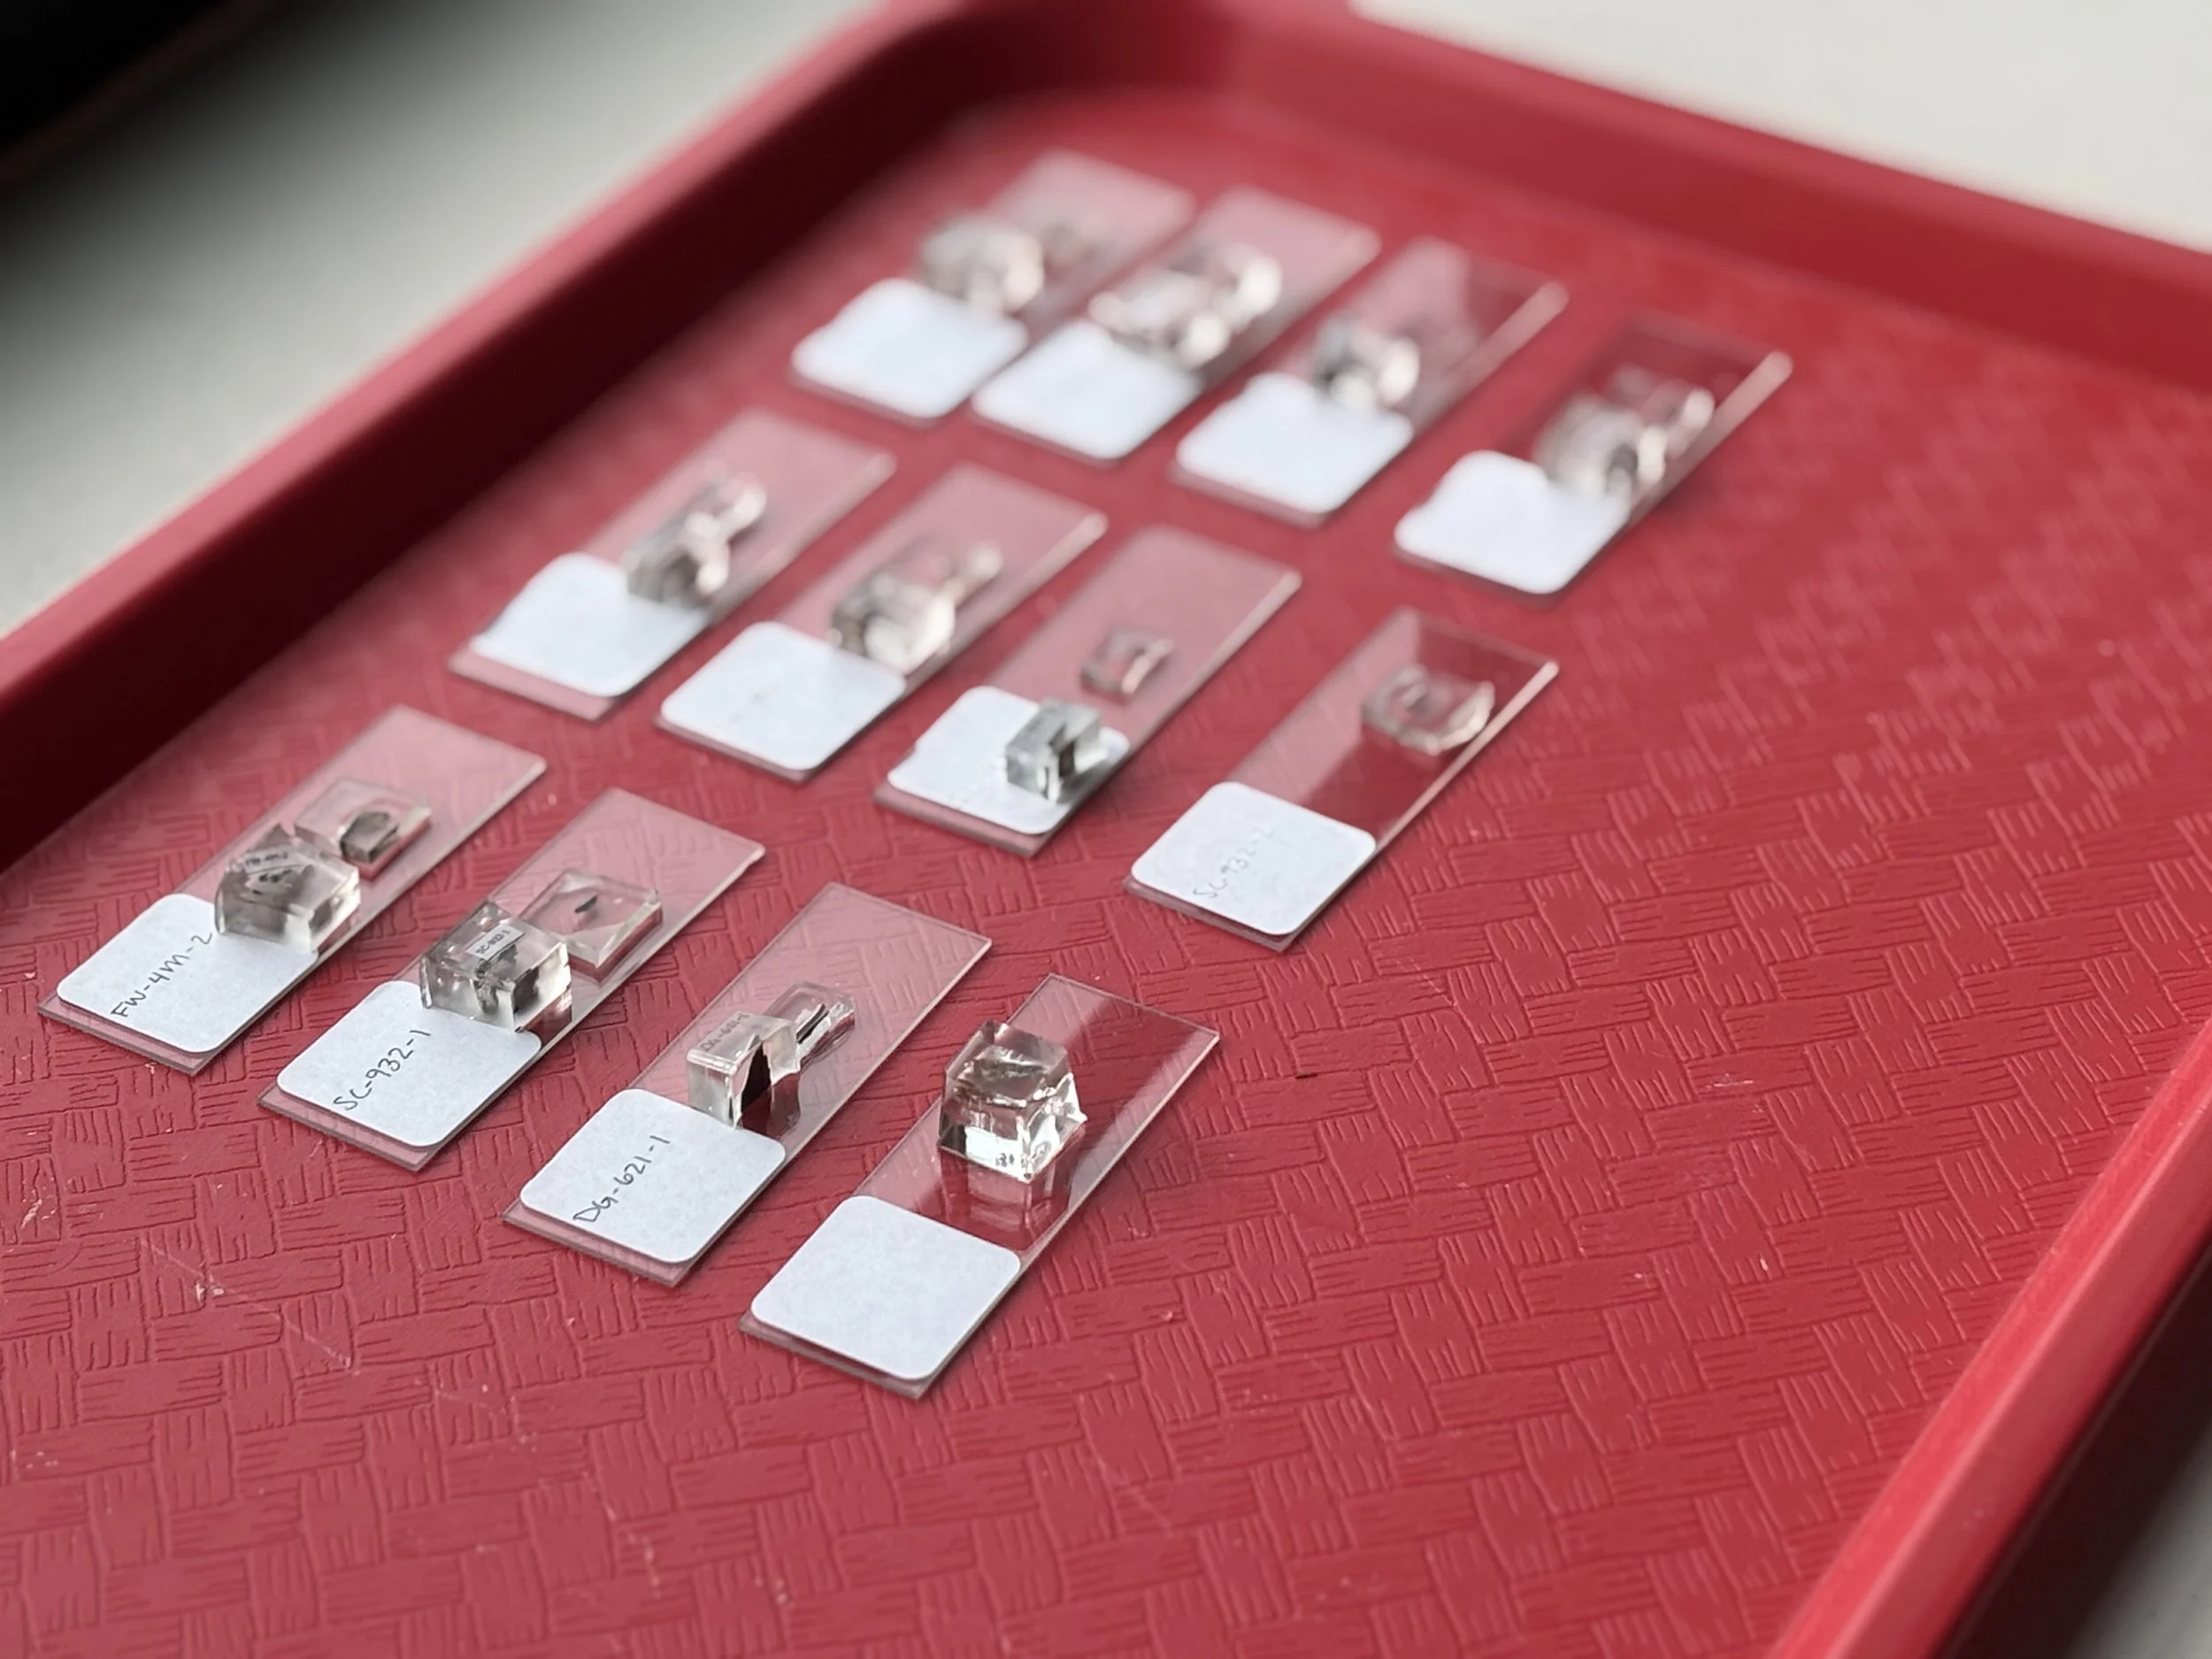
The first step when we get samples to the lab is to determine which ones will be most informative and should be processed for cross section analysis. This is done by viewing them under low magnification (10-45x). Smaller portions of selected samples are then cut away to fit into a ½” cube mold. The samples are then cast into the mold with a polyester resin. The resin cubes are then precisely cut into a thin cross section to reveal the layers of paint (or other finishes) in sequence. These small samples are then polished on one side and mounted to microscope slides to be viewed under high magnification.